
Start with a window share for a one-app presentation
If your entire presentation is a document, slide deck, or browser window, select that window in the meeting app’s sharing picker. Check the recipient’s view before beginning. This limits the selected content without changing your everyday desktop arrangement.
Dock auto-hide is most useful when you need more room on your own screen. It can also make a full-display share look cleaner, but it does not remove the Dock permanently. The same distinction applies to the menu bar at the top of the display.
For a presentation that switches between several apps, decide whether you need the audience to see the entire display or just the approved work. That decision matters more than whether your desktop looks tidy at the moment you press Share.
Turn on Dock auto-hide in System Settings
Open Apple menu → System Settings → Desktop & Dock. Turn on Automatically hide and show the Dock. Move the pointer away from the Dock’s edge to let it disappear.
Apple’s Desktop & Dock settings guide explains that moving the pointer back to that edge shows the Dock again. This applies to the edge where you have placed it: bottom, left, or right.
The native toggle Option-Command-D is another way to hide or show the Dock. Apple documents it in Use the Dock on Mac. Rehearse the shortcut before the call so you know whether you are enabling or disabling auto-hide.
You can leave these preferences as you normally use them when sharing only the intended app window. If you are sharing the display, check whether Dock items, minimized-window previews, or app names become visible when you move to its edge. Hiding the Dock does not close the apps it contains.
Set the menu bar to hide automatically
In macOS Tahoe 26 and macOS 27, open System Settings → Menu Bar. Set Automatically hide and show the menu bar to Always if you want it hidden in both ordinary desktop use and full-screen apps.
Apple’s current Menu Bar settings documentation also offers modes that apply only on the desktop or only in full screen. Choose the mode that matches your presentation rather than assuming full-screen behavior also applies to a normal window.
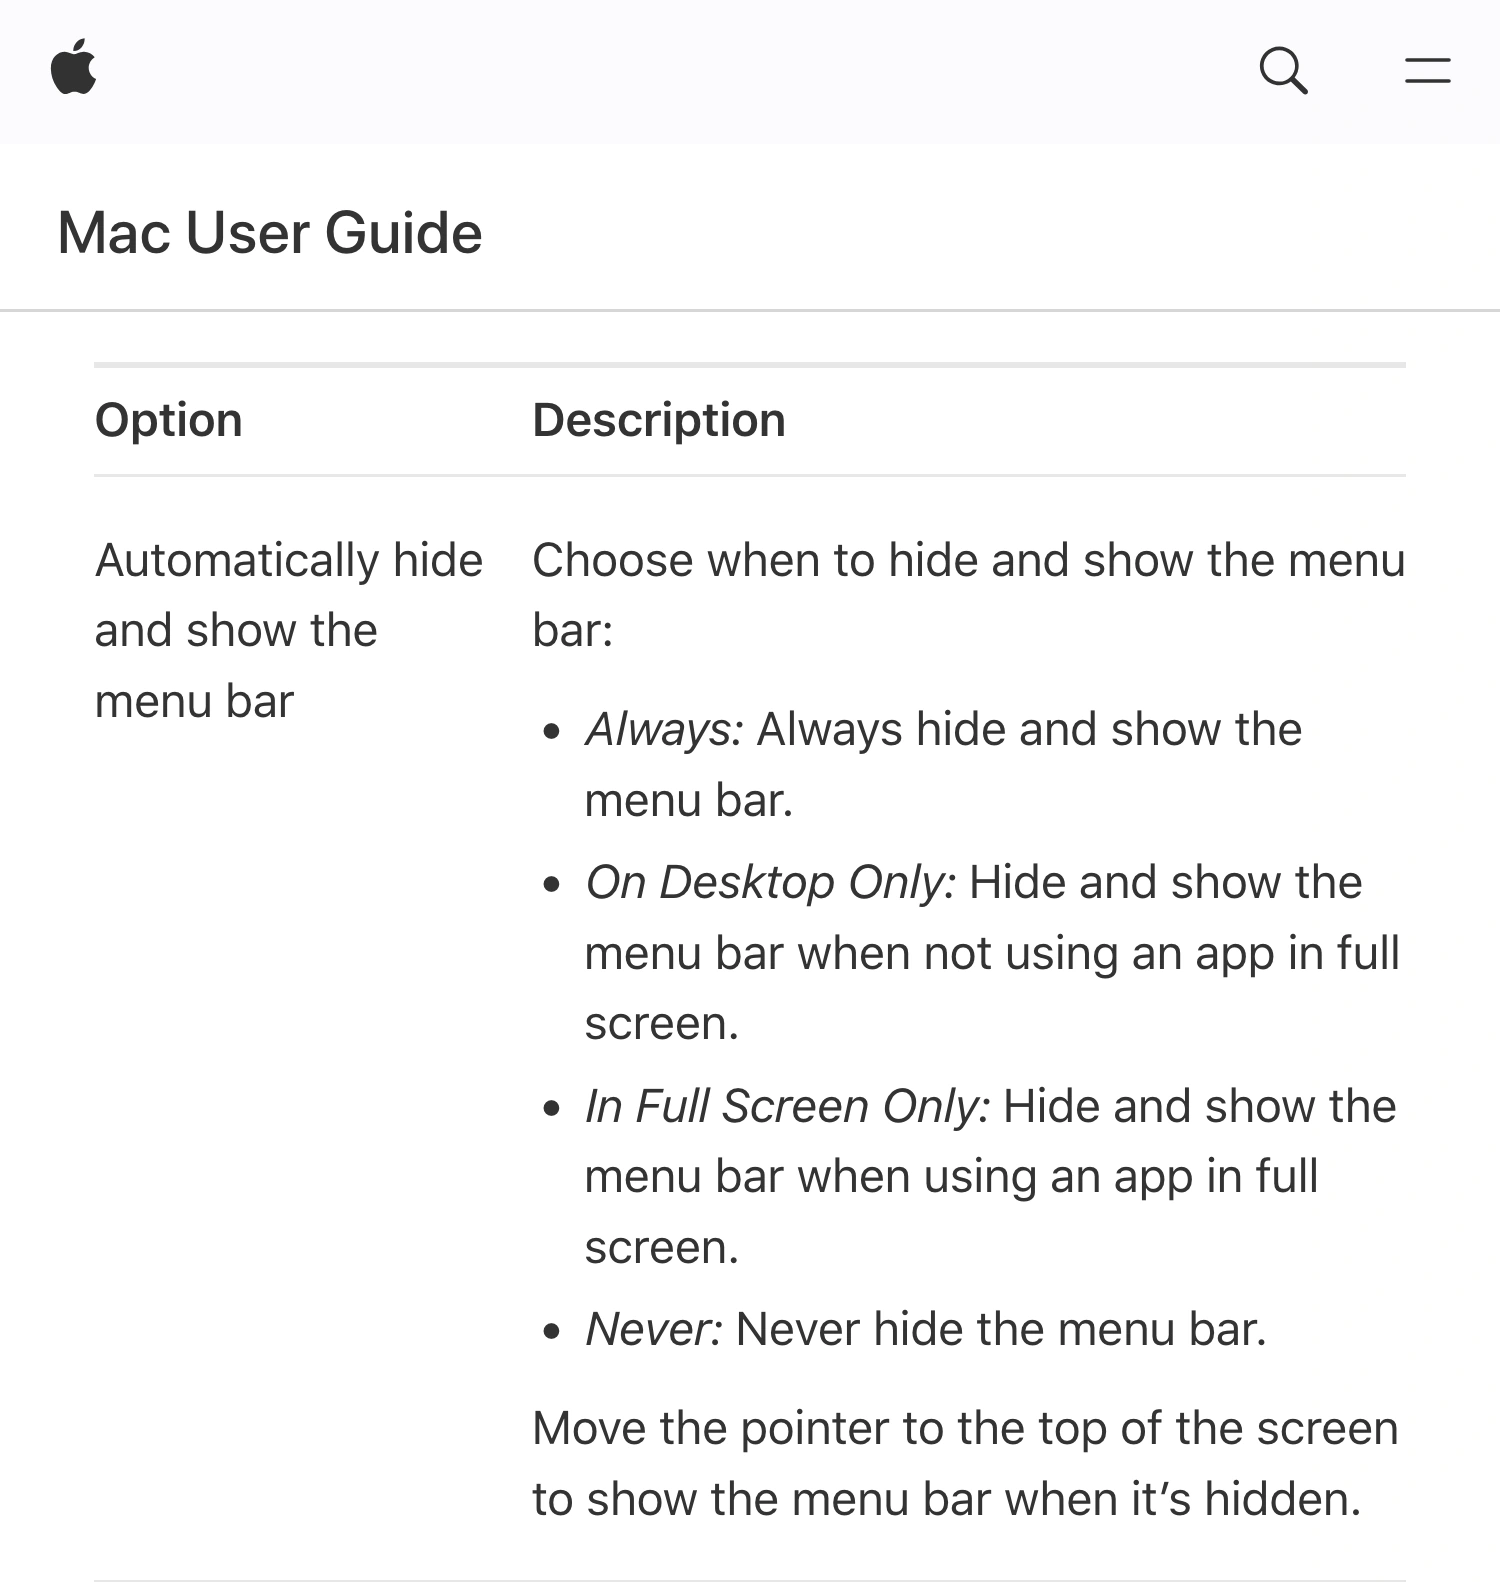
Apple Mac User Guide for macOS 27, captured September 23, 2026. Cropped source header and settings excerpt show that the hidden menu bar returns at the top edge.
On an older macOS release, the location of this setting can differ. Search System Settings for the exact option name, or use the version selector in Apple’s guide. Following a tutorial’s old sidebar path is less reliable than finding the setting for the macOS version you are presenting from.
Why the bars keep appearing during a presentation
Auto-hide is designed to keep controls available. Reaching toward a menu or launching another app is enough to bring them back. A viewer of the physical display can therefore see a bar that was absent in your opening preview.
| Your action | What to check in the audience view |
|---|---|
| Move to the top edge | Menu bar and any opened menu |
| Move to the Dock’s edge | App icons, labels, and previews |
| Enter or leave full screen | Changes in bar visibility and framing |
| Switch to another work app | Surrounding windows and system surfaces |
Apple’s full-screen app guide describes how the Dock and menu bar remain accessible from screen edges. Full screen is a useful layout choice, but it is not proof that those controls can never enter a display capture.
The menu bar is also different from the toolbar inside an app window. Hiding the Mac menu bar does not remove a browser’s address bar, document title, or application sidebar. Prepare those inside the app you are showing.
Similarly, hiding the Dock and menu bar does not hide files on the desktop. Use the separate desktop icons guide if filenames or widgets are the issue. That article addresses the desktop surface; this one addresses controls that return at the edges.
Keep the controls locally while filtering the audience window
ScreenK9 is relevant when a multi-app presentation needs your normal local controls but should omit those system surfaces from the audience feed. It captures a selected display into a separate filtered window.
- Select the source display and an allow-only profile with the work apps needed for the demonstration.
- Set Menu bar & Dock to Hidden in ScreenK9.
- Configure Wallpaper & icons and Notifications separately according to what the audience should see.
- Start the audience view and inspect the result while moving the pointer to both screen edges.
- In the meeting app, share ScreenK9 — Audience View as a window.
This changes the audience output rather than the macOS auto-hide preference on your desktop. The app’s current implementation filters system surfaces and controls menu-bar inclusion through ScreenCaptureKit. The explicit menu-bar capture option is used on macOS 14.2 and later; use a current supported macOS release for this workflow and verify the actual output before presenting.
Sharing your physical display directly bypasses ScreenK9. The same is true if you switch the meeting’s source back to a display midway through the session. Keep the window target selected throughout the multi-app walkthrough.
App selection is another separate control. Allowing an ordinary application does not approve just one of its windows, and hiding system bars does not inspect the contents of an allowed app. Prepare the documents and accounts you intend to demonstrate. ScreenK9 does not use OCR or automatically discover secrets inside them.
Rehearse the edges before the real call
Use the meeting preview or a second participant to check what actually reaches the audience. Move to the top edge, reveal the Dock, switch to your second work app, and return. If you use a full-screen app, enter and exit that mode once during the rehearsal.
If a bar or private surface appears unexpectedly, stop sharing and correct the source or filter before continuing. Do not depend on keeping the mouse perfectly still for an entire live presentation.
For notifications, also prepare the native settings described in hiding Mac notifications while sharing. Finish with one clear rule: the audience should see the intended work even when you use the controls needed to move through it.