
Start with the page you want people to see
Presenter Mode is useful when your meeting revolves around an existing document: a project brief, design proposal, or retrospective. You can present that page without first rebuilding it as a slide deck.
Open the published page, check its contents, then use More actions (…) → Present. Atlassian’s current Presenter Mode guide describes a full-screen view that removes side panels, options menus, and inline comments. Its keyboard-shortcut reference confirms Command–Option–R on Mac.
Start the mode before starting the meeting share. That makes the first received frame the prepared document, rather than your surrounding workspace. If your meeting supports sharing one browser tab, select the tab containing the presentation. Otherwise select the appropriate browser window and inspect the preview.
A cleaner presentation does not mean the document has been reviewed. Read the visible text, tables, screenshots, and links beforehand. A customer name inside the page remains part of what you are presenting.
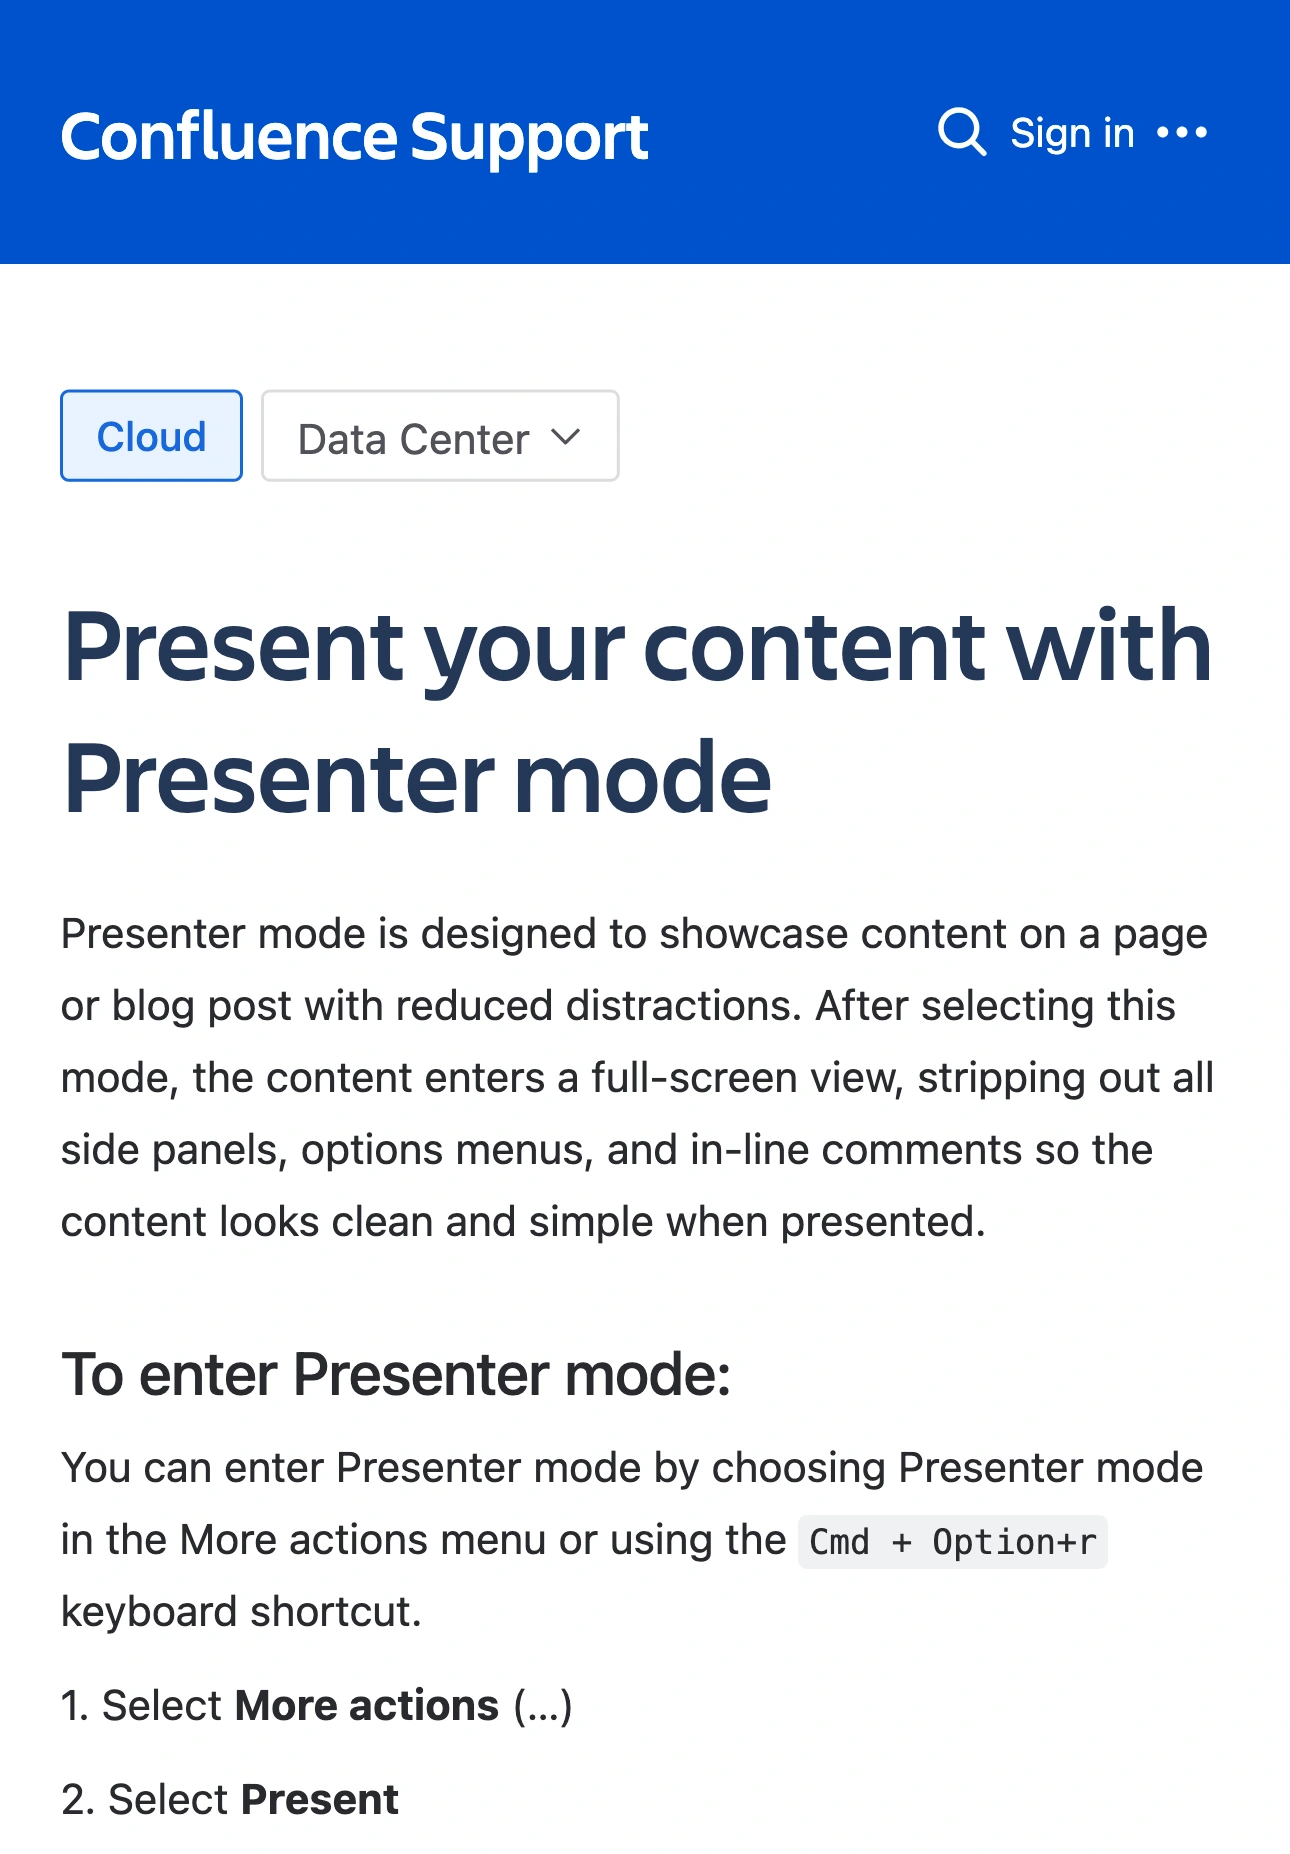
Atlassian Support, captured October 15, 2026 at Retina resolution. Two unaltered excerpts retain the branded heading, explanation, and start command; the example images between them are omitted.
Keep three different boundaries clear
The page’s appearance, the meeting’s capture source, and a viewer’s permission to open the page are separate decisions.
| Decision | What it controls | What to check |
|---|---|---|
| Turn on Presenter Mode | The document’s presentation layout | Page content is suitable for the audience |
| Share a tab or window | Which visible source the meeting receives | The preview contains only the intended source |
| Give someone the page link | Their route to the underlying document | Existing access and intended recipients |
This distinction matters during questions. You might present a harmless summary, then click a link to a more detailed internal page. Sharing the same tab continues to show whatever you navigate to. Presenter Mode cannot judge whether the next destination belongs in the meeting.
Write down the few links you intend to open. Open those destinations during rehearsal and inspect their titles, surrounding content, and any dialogs. For unexpected requests, stop sharing while you locate the answer.
Use focus and navigation for pacing
Atlassian’s collaboration guide explains selective focus: the current section stays prominent while other sections fade. This helps the audience follow a long document. Fading is a visual presentation treatment, so do not treat it as confidential-content redaction.
Use the arrow keys to move through sections. The current Presenter Mode documentation also describes a section dropdown, cursor spotlight, and a full-screen control. Rehearse the controls you need instead of discovering them during a call.
For a long table, pause and check whether its text is readable in the participant view. A large local monitor can make a dense page seem comfortable while someone viewing the meeting in a small window struggles. Consider a shorter summary page if your explanation requires repeated zooming and scrolling.
Changing the layout can improve delivery, but it does not make a page appropriate for every audience. Prepare a separate audience-facing version when the original mixes a shareable explanation with internal details.
Presenting a page and creating Slides are different tasks
Confluence also documents AI-generated Slides with Rovo. That workflow creates a slide deck from source material. The Present action on an existing page opens its presentation view.
Choose the existing-page workflow when your document already provides the right sequence. Choose a deck workflow when you need to reorganize the material into slides, then review the resulting deck before sharing it. Do not assume a generated presentation has removed confidential details.
This guide covers presenting a Confluence Cloud page on Mac. Instructions for a Data Center installation or an optional presentation app may describe different menus. If your interface differs, consult the documentation for that environment rather than applying old custom CSS to your page.
Rehearse the exit as carefully as the start
The collaboration guide says Exit or Escape returns you to the standard page view. That return is an easy moment to overlook: navigation and collaboration controls can reappear while the same browser source is still being shared.
Before the real meeting:
- Start Presenter Mode on a harmless test page.
- Share its tab or window and verify the received picture.
- Move between sections and open only your planned links.
- Stop the meeting share.
- Exit the presentation and check that the ordinary workspace is no longer being broadcast.
If you need to keep talking after the page walkthrough, end the share while taking questions. You can start a new, deliberate share after preparing the next source. For Zoom sessions, the pause and resume guide explains the controls for an interruption.
Use ScreenK9 for a prepared demonstration across apps
A single Confluence page usually needs only the native presentation view and a narrow meeting source. ScreenK9 becomes useful when you must move from that page to several prepared Mac applications while keeping private reference apps outside the audience picture.
Configure the approved applications or supported Chrome profile, inspect the filtered result, and select ScreenK9 — Audience View in the meeting. The multi-app sharing guide explains that setup. Sharing the physical display directly bypasses this separate filtered window.
Keep the app boundary in mind. Ordinary application rules apply to the whole app, not individual windows. Chrome profile classification separates supported profiles; it does not decide which Confluence pages, comments, or tabs inside an allowed profile are suitable. Prepare that profile before allowing it. The Chrome-profile guide explains the classification limits.
ScreenK9 does not read page text with OCR or automatically discover secrets. Its manual redaction regions cover chosen areas and need checking again if the content moves. It does not change Confluence permissions or intercept the meeting application.
Finish with one concrete rule: prepare the document, verify the selected audience source, and stop sharing before returning to private navigation.
Sources checked
- Atlassian: Present your page with Presenter Mode
- Atlassian: Keyboard shortcuts
- Atlassian: Collaborate with your team
- Atlassian: Create AI-generated Slides with Rovo
Instructions are based on current documentation and ScreenK9’s implementation, checked October 15, 2026. Rehearsal steps are recommendations, not a claim that we tested your meeting configuration.