
Hide prompts on the page you will demonstrate
Make this change before the meeting. Opening a password-manager menu while sharing can expose the information you were trying to keep private.
- Open the exact page used in your demonstration.
- Right-click the page and select 1Password - Password Manager → Hide on this page.
- Return to the form and click the fields you plan to use.
- Follow the next navigation step and check that page separately.
The current 1Password browser guide documents this control for prompts to save or use logins, passkeys, and other items. It is the most direct starting point when the unwanted interface belongs to the browser extension.
Treat each part of the demonstration as something to check. A login page, account settings page, and checkout form may be different destinations. Do not assume a setting applied to one page has prepared every page in the walkthrough.
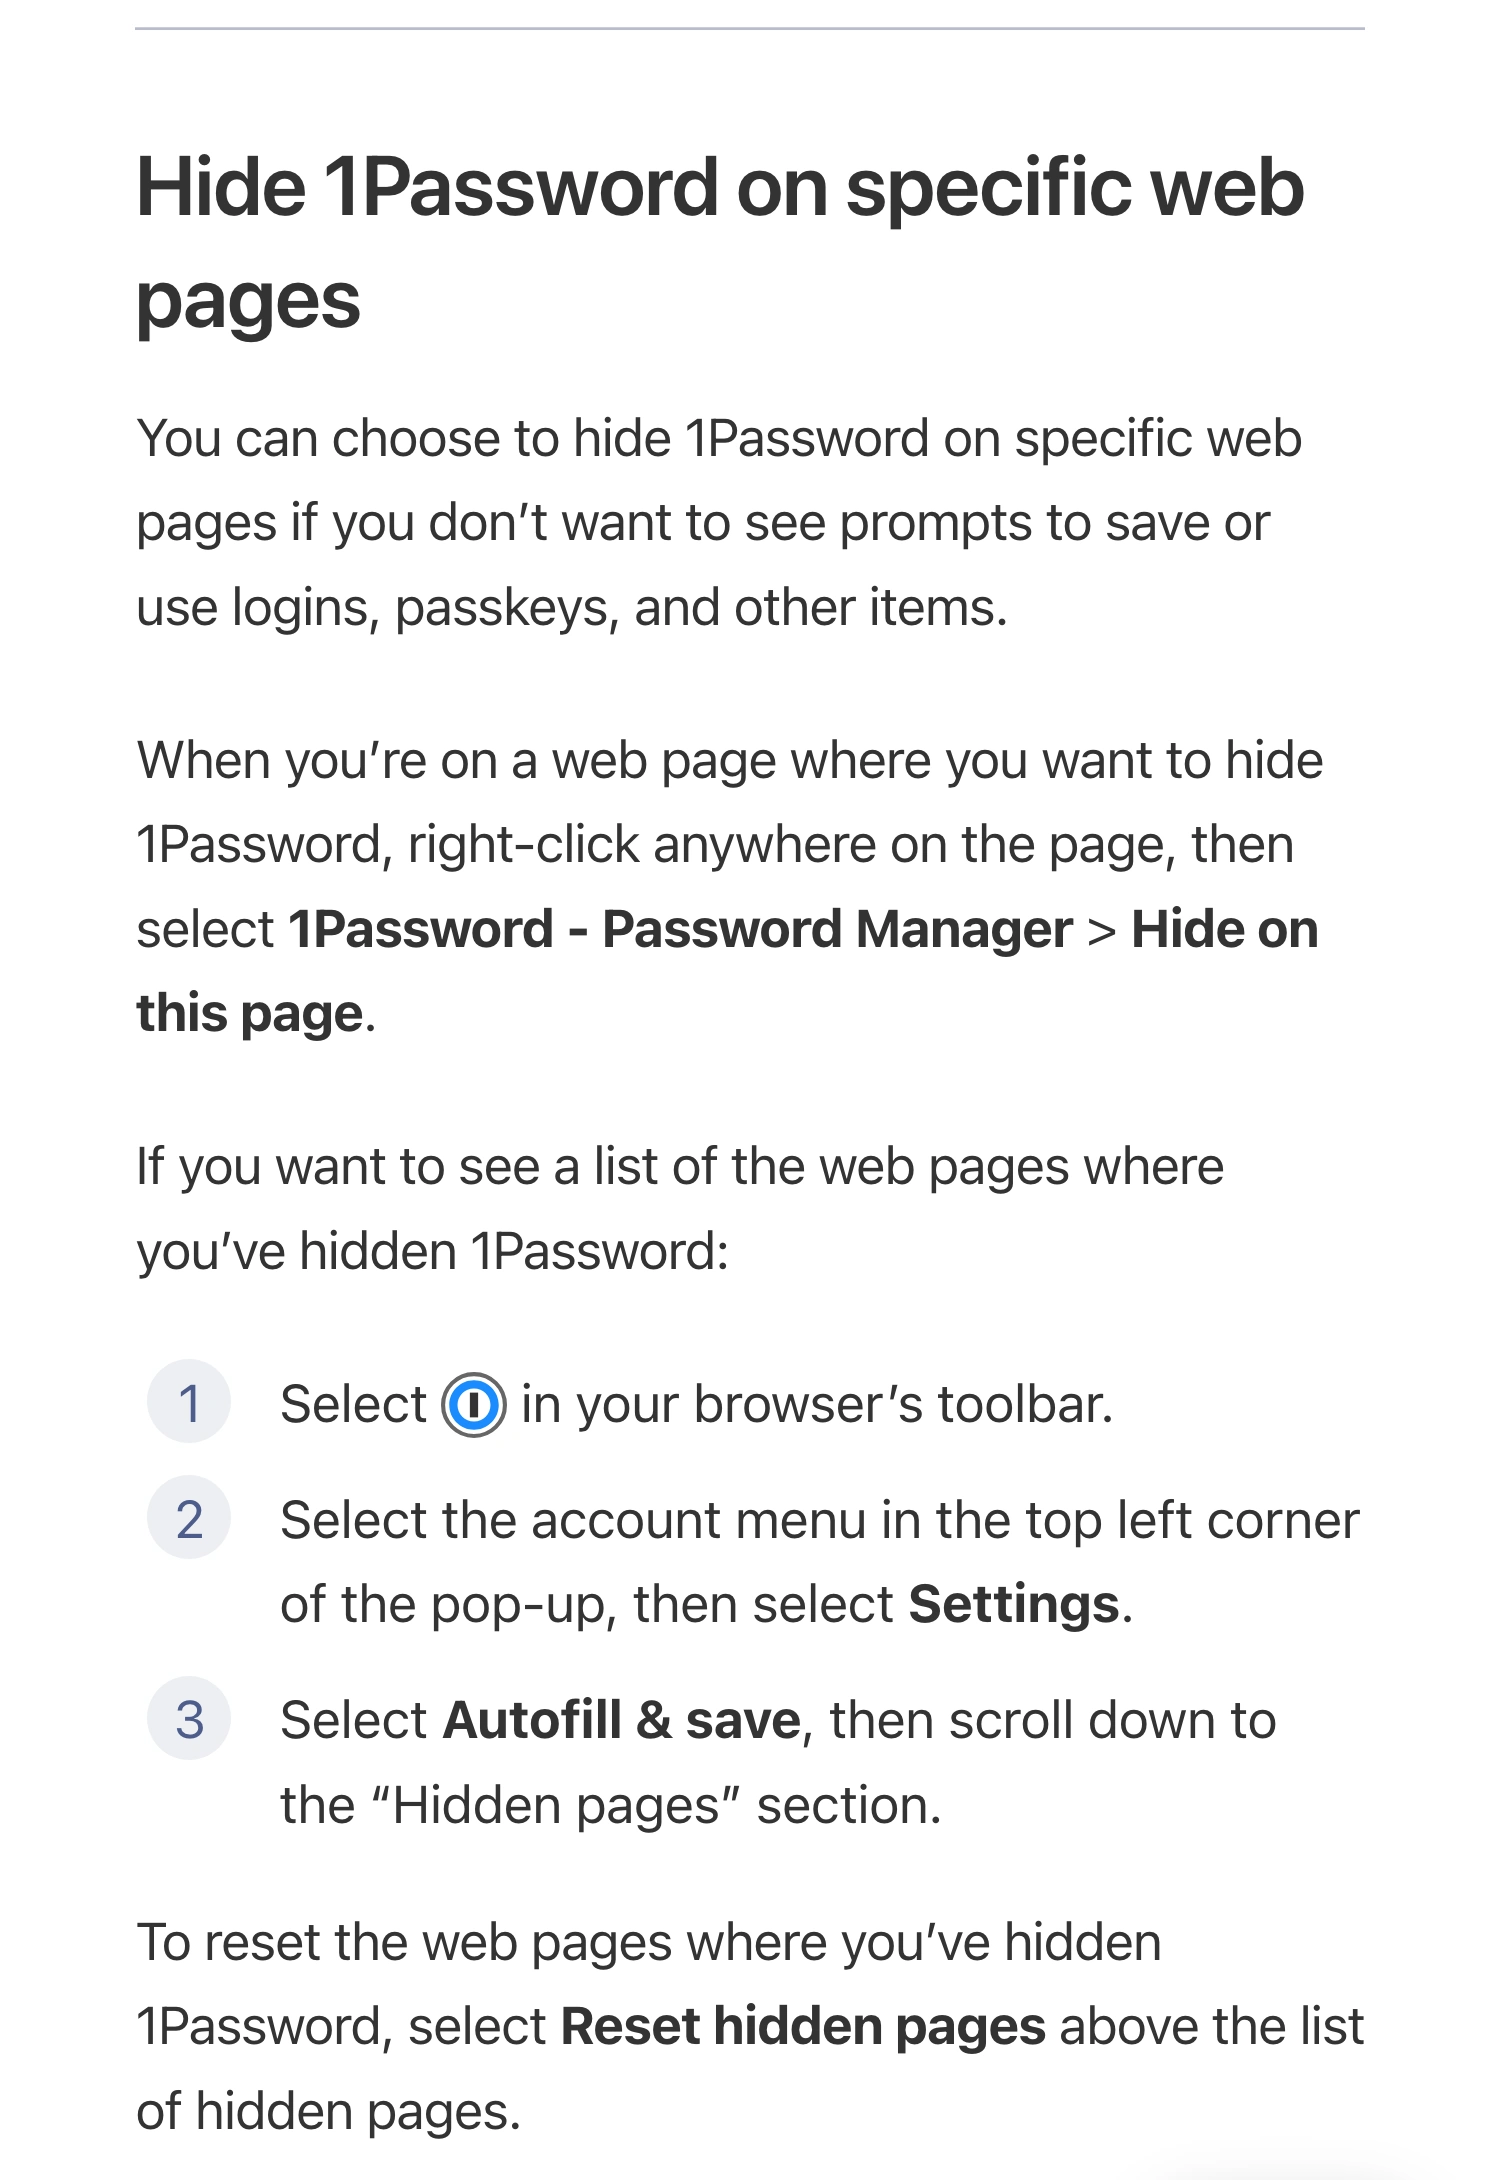
1Password Support, captured October 7, 2026. The cropped official instructions retain the extension logo, page-specific action, and hidden-page controls. This is documentation, not a screenshot of a private vault.
Hidden pages are no longer just a temporary dismissal
Older advice describes this action as lasting only until the browser restarts. A 1Password employee confirmed persistent hiding in June 2026. The browser guide updated September 11, 2026 also documents a list of hidden pages.
To review that list, open the extension from the browser toolbar, select its account menu, and open Settings → Autofill & save → Hidden pages. Do this privately: the list itself can reveal websites you use.
The documented Reset hidden pages control resets the list. Do not treat it as a promise that you can restore just one selected page. After a presentation, review whether you still want those pages hidden before changing anything.
This distinction matters for repeat demonstrations. Restarting the browser is not a reliable way to restore your usual prompts. Conversely, dismissing a single popup is not evidence that all later prompts have been disabled.
Identify which surface is exposing information
Several things can look like a password-manager problem while requiring different preparation.
| What the audience might see | What to prepare |
|---|---|
| 1Password suggestions or save prompts on a webpage | The extension’s page-specific hiding control |
| A macOS AutoFill suggestion | The separate system AutoFill workflow |
| A name or credential already entered in a form | Replace it with approved demonstration data |
| The standalone 1Password vault window | Keep that entire app outside the shared content |
| A customer record returned by the website | Use a demo account or a suitable sample record |
For example, hiding suggestions does not erase a personal email address you have already entered. A masked password field may conceal its characters while the adjacent username still identifies an account. Review the actual page, not just the dropdown.
If the unwanted suggestion belongs to Chrome itself, use the separate Chrome autofill preparation guide. Disabling one provider’s interface should not be assumed to disable another provider or a website’s own recent-search menu.
Keep item filling rules separate from presentation controls
1Password also provides autofill behavior for individual saved website entries. These rules determine where a login item can be offered or filled, including an exact-host restriction and a never-fill choice. They answer a different question from hiding the extension on a demonstration page.
Do not create dummy vault entries or rewrite every saved login simply to prepare a short call. Start with the page-specific control, then investigate item-level rules only if that is the behavior you actually need to change.
On a Mac, the system AutoFill integration is another distinct path. The official documentation was updated October 6, 2026. If a suggestion remains after hiding the extension, identify which interface owns it before assuming the setting failed. Keep authentication protections enabled and complete unrelated sign-ins before sharing.
Use a prepared account and a narrow native share
For a single-site demonstration, prepare a test account containing fictional names and records. Sign in before the audience joins unless showing the login process is essential. If it is essential, use demonstration credentials and rehearse the full sequence privately.
Write down the transitions that can expose something new: opening the login form, clicking the username field, moving to a second page, and navigating through the address bar. Then perform those actions in order with harmless data. A clean first screen is only the beginning of the check.
Share the prepared tab or window through the meeting application’s native picker. Google’s Meet presentation documentation explains those choices. Confirm the selected content from a participant view. A narrow share reduces exposure of surrounding applications, but content inside that selected page still needs preparation.
When the desktop vault must stay open during a longer demo
A demonstration spanning a browser, slides, and another work application can make repeated share switching awkward. ScreenK9 creates a separate filtered macOS window for this situation.
Choose Show only selected, include the applications required for the demo, and leave the standalone 1Password app outside that set. Select the source display, inspect ScreenK9 — Audience View, and share that named window in the meeting. Ordinary application rules cover the whole app, not individual vault windows.
Excluding the desktop app does not remove 1Password extension prompts inside an allowed browser. Those still require the native preparation above. ScreenK9 does not read page contents, perform OCR, or automatically detect secrets.
If personal Chrome contexts must also remain open, the Chrome profile privacy workflow explains the Companion classification setup. It is a separate control for browser contexts, not a password-prompt filter. Sharing the physical display directly bypasses Audience View.
Rehearse the moment that could reveal a prompt
Before the real call, repeat the exact field clicks and page transitions while watching the participant picture. Include reopening the browser if that is part of your normal setup. Use sample values rather than real credentials for this check.
If an unexpected prompt appears, stop sharing before investigating it. Identify whether it came from the extension, macOS, the browser, or the website. Correct that source and repeat the affected step. Keep a prepared sample page available so you can continue the presentation without opening a private vault on camera.
Sources checked
- 1Password: browser use and hidden pages
- 1Password: per-item autofill behavior
- 1Password: macOS AutoFill
Documentation and ScreenK9’s current implementation were checked on October 7, 2026.