
Turn off the category that appears in your form
If a name, address, or payment suggestion appears when you click a form field, start in Chrome. Do this before sharing: opening the settings page itself can reveal saved information.
Open the three-dot More menu, then Passwords and autofill. Choose the relevant information category and turn off its Save and fill setting. Google’s current form autofill documentation lists categories including Payments and Contact info; availability and labels can vary. An older layout may say Autofill and passwords, Addresses and more, or Payment methods.
Turn off each category the demonstration could trigger. Then return to the sample form and click the same fields you will use in the meeting. Closing a dropdown once is not evidence that the next field will stay clear.
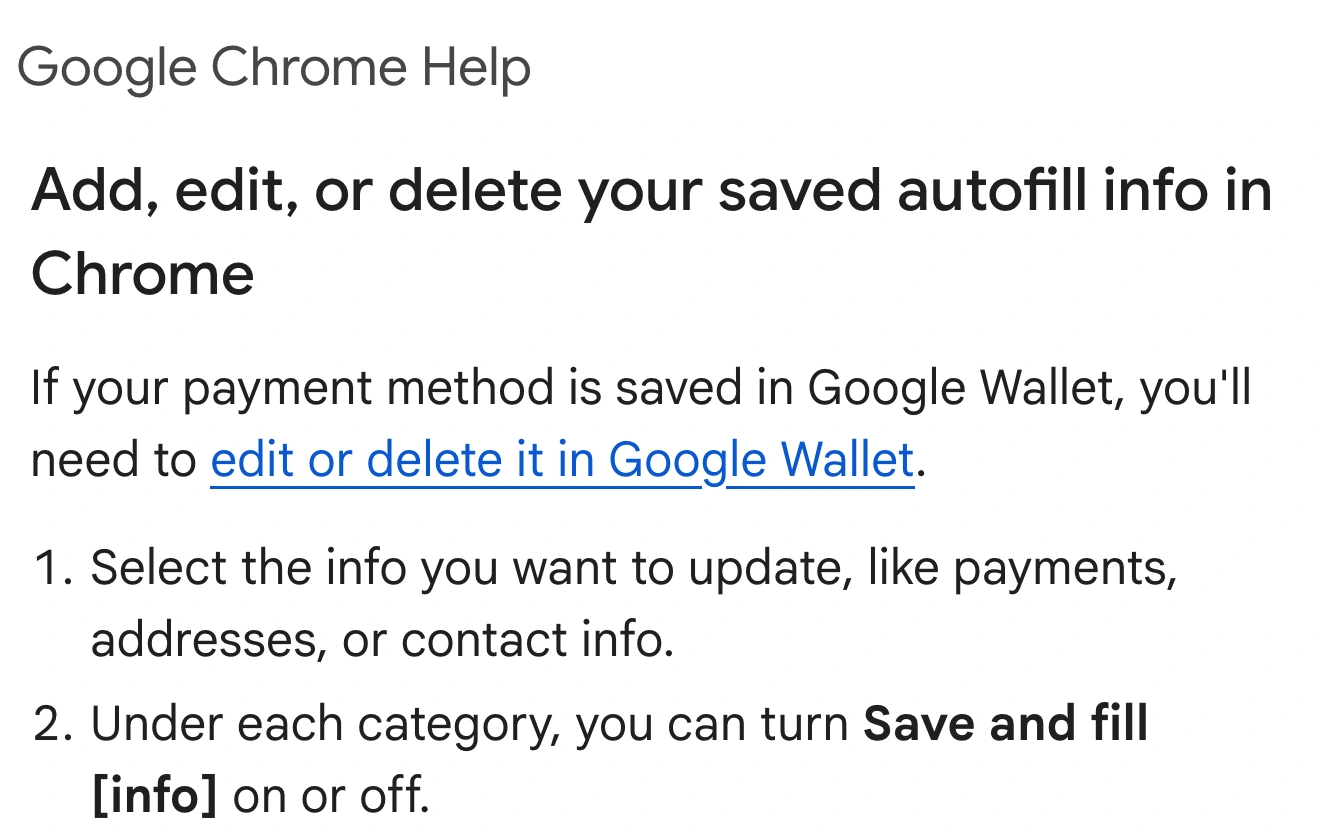
Google Chrome Help, captured September 21, 2026. Cropped source header and documentation excerpt show the category-specific control described above.
Avoid clearing all saved data just to prepare a presentation. Google explains that edits or deletions made while signed in can affect other signed-in devices. A temporary presentation setup is usually easier to manage than rebuilding useful personal information afterward.
Identify which kind of suggestion you are seeing
“Autofill” is often used for several different things. The location of the unwanted text is a better starting point than its appearance.
| Where the suggestion appears | What to check |
|---|---|
| Name, address, or payment field | Chrome’s matching Save and fill category |
| Username or password field | Google Password Manager or your password-manager extension |
| Address bar at the top of Chrome | Browsing history and search suggestions |
| Search box inside a website | The website’s own account, recent items, or saved data |
For example, a customer search dropdown inside a CRM may come from the CRM itself. Turning off Chrome’s address filling cannot be assumed to remove it. Use a demonstration account containing fictional records and test that exact search.
Similarly, a private URL in the address bar is not an address-form suggestion. If that is the problem, prepare direct links in a clean presentation environment before starting. The guide to keeping other Chrome tabs private covers the surrounding browser window; this article addresses suggestions that can appear inside the window you intended to share.
Password saving and password filling are different
In Passwords and autofill → Google Password Manager → Settings, Chrome offers an Offer to save passwords and passkeys control. Google describes this as controlling offers to save new credentials. Its password documentation separately describes signing in with credentials already saved.
Do not treat turning off the saving prompt as proof that existing usernames or passwords will stop appearing. Some tutorials combine those actions incorrectly. A username can also disclose information even when the password characters are masked.
For a demo, sign in to the prepared account before sharing and avoid opening the password manager on camera. If the demonstration includes a login flow, use a dedicated test account and a browser environment that has no unrelated saved credentials. Rehearse the username field as well as the password field.
A third-party password manager has its own settings and interface. Check it separately if its icon or suggestions appear. Keep authentication protections enabled; disabling a security prompt is not a method for preparing a safe presentation.
Keep everyday browsing separate from the demonstration
If you present regularly, a dedicated Chrome profile reduces the amount of personal information you need to inspect each time. Google’s profile guide explains that profiles separate history, passwords, bookmarks, and settings.
Create the profile through the profile menu and give it a recognizable demo name. Avoid importing personal browsing data into it. If you sign it into a Google Account, review what account information becomes available before using it for a presentation.
Then build a small demonstration environment:
- Open only the pages needed for the walkthrough.
- Use fictional names, addresses, and sample records.
- Complete any unrelated account authentication beforehand.
- Test empty fields, partially entered values, and previously visited forms.
- Check the address bar when navigating to the next page.
A new profile is preparation, not a guarantee that the website contains no private data. Signing into a real customer account can expose real records regardless of how clean the browser profile is.
For a single-site walkthrough, share the prepared tab or window using your meeting tool’s native picker. Google documents these choices in its Meet presentation guide. Verify it from the participant view. A narrow share helps with surrounding applications, but suggestions inside the selected content still need the preparation above.
When personal Chrome windows must remain open
A longer demonstration may move between a work browser and several other applications while personal Chrome windows remain open. ScreenK9 can provide a separate audience picture for that workflow.
Configure the work applications in ScreenK9, choose the source display, and use the Chrome Companion workflow to classify the intended Chrome context as Work and personal contexts as Personal. Preview ScreenK9 — Audience View, then share that named window in the meeting application.
The Chrome profile privacy guide explains the classification setup. It helps keep personal browser contexts outside the prepared audience output. It does not remove a suggestion that appears inside an allowed work page.
For a known, stationary area that should never be shown, ScreenK9 also supports manually configured audience-only redaction regions. The fixed-region masking guide explains their limits. A region does not follow a dropdown when the window moves, the page scrolls, or the layout changes. Test it against the actual sequence.
ScreenK9 does not perform OCR or automatically detect secrets. Ordinary application rules apply to the whole app, rather than arbitrary individual windows. Sharing the physical display directly bypasses Audience View.
Run a short field-by-field rehearsal
Before inviting the audience, open the first form, click its empty fields, type a fictional partial value, and move to the next page. Check the participant picture after each action. Include any address-bar navigation or login step that will occur during the real demonstration.
If unexpected personal information appears, stop sharing before investigating. Fix the source of that information, return to the sample data, and repeat the affected step. Start the call only when the complete sequence behaves as expected.
Sources checked
- Google Chrome Help: form autofill categories
- Google Chrome Help: password saving and filling
- Google Chrome Help: separate profiles
Documentation and ScreenK9’s current implementation were checked on September 21, 2026.