
Start in presentation view
Prepare the prototype flow you intend to demonstrate, then click Present. Figma documents Cmd+Option+Return as the Mac shortcut. Presentation view opens the prototype in a separate tab; inline Preview stays alongside the design canvas.
In the presentation options, choose Hide UI. Figma’s prototype playback guide says this hides the toolbar and footer, also hides the flows sidebar when applicable, and updates the URL with hide-ui=1.
Use the resulting link rather than manually building a URL from an old tutorial. Open it once before the meeting and confirm the starting screen. The purpose is to show the planned journey clearly, without the surrounding controls competing for attention.
A useful preparation rule is to begin with the audience’s first decision: what should they notice or try on the opening screen? Remove unrelated example content from the presentation file before worrying about a border or toolbar. A tidy viewer cannot compensate for a confusing or inappropriate prototype.
Keep editor controls and prototype controls separate
Sometimes you want to explain the design canvas rather than play a flow. In that case, Figma has a separate Hide/Show UI action. Its editor UI guide documents Cmd+backslash on Mac, or finding the command through Actions.
Minimize UI is different. The right properties panel can expand when you select an object, so a minimized layout is unsuitable if your plan depends on that area remaining invisible. Choose the control that matches the demonstration and test the next click, not only the opening frame.
If a shortcut behaves differently on your keyboard, use the named action. Figma’s keyboard guide explains how to open Help and resources → Keyboard shortcuts and inspect the available commands and layout settings.
Avoid experimenting with unfamiliar key combinations while participants watch. Confirm the command before the call, and know how to restore the editing controls without exposing an unfinished page.
Hiding the toolbar does not lock down the design file
Figma’s file and prototype sharing guide makes an important distinction: prototype-only links are available on paid plans. On Starter, a file shared from presentation view can still allow viewers to open the source file through Open in editor.
That access boundary is separate from the Hide UI setting. A link with clean presentation controls should not be described as a way to make private layers, pages, or comments inaccessible. Review the actual sharing permissions before sending the link.
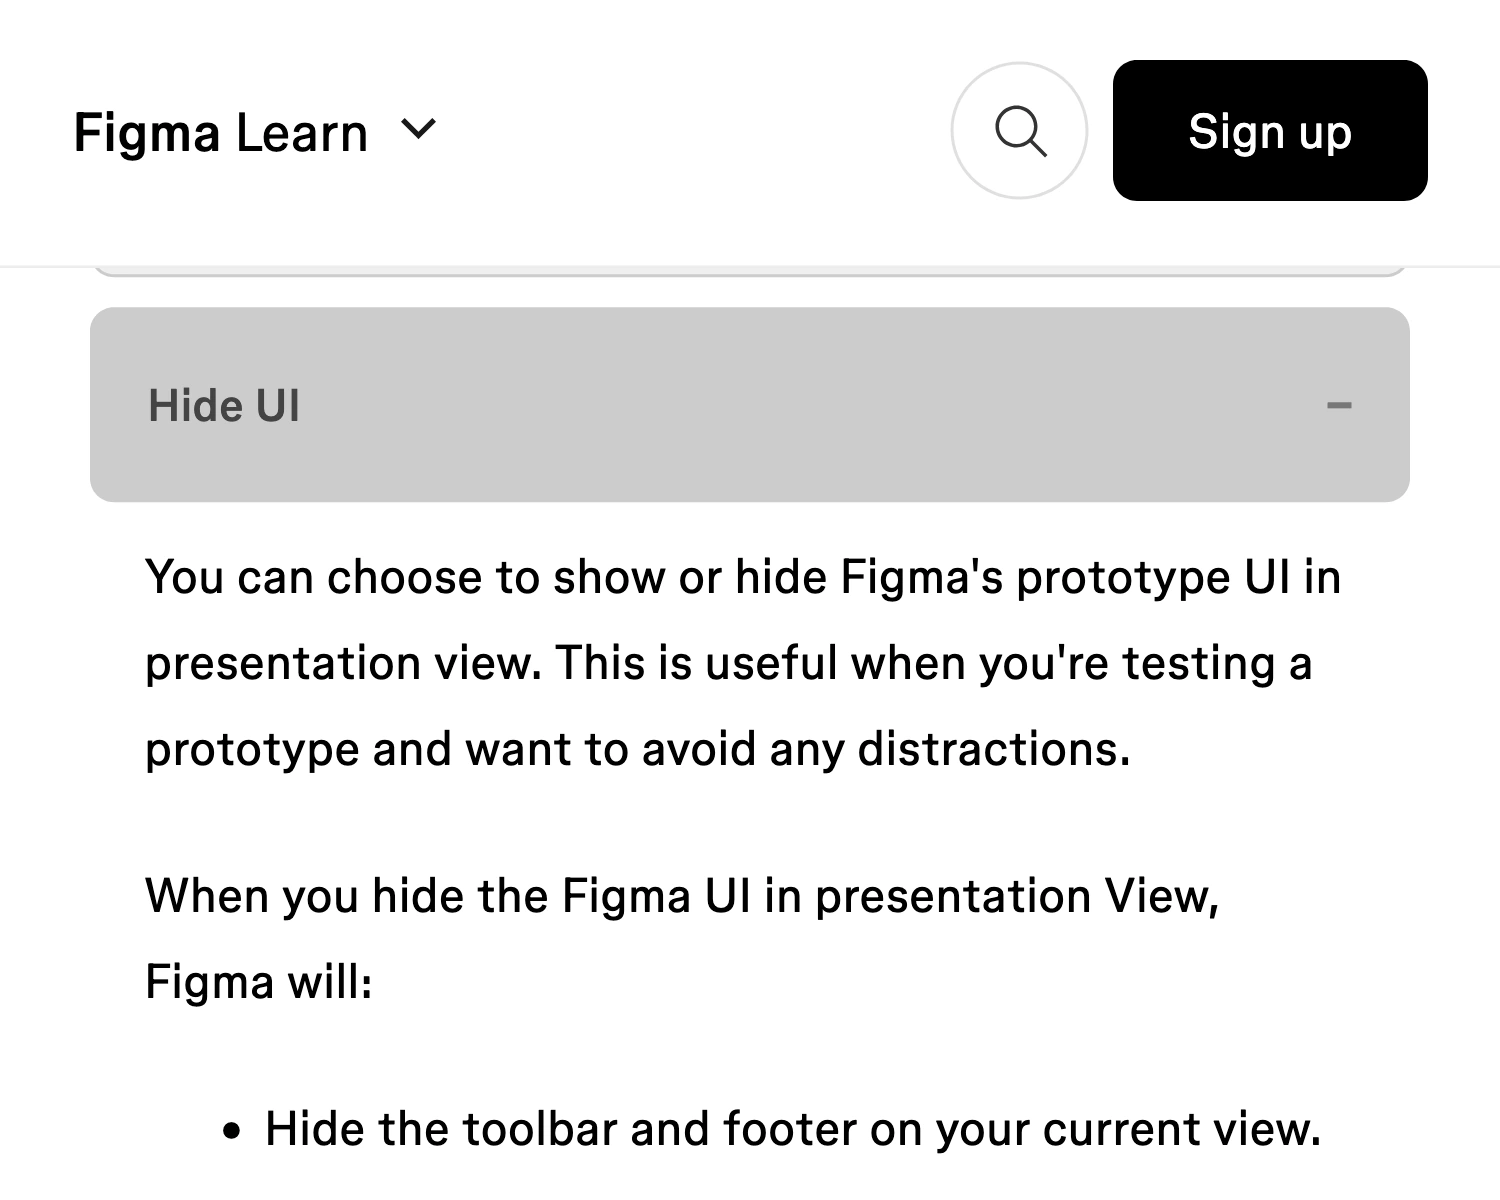
Figma Learn, captured October 1, 2026 at 3× device pixel ratio. The branded documentation excerpt shows a display setting, not a file-access restriction.
If participants only need to watch your explanation, a meeting screen share can be sufficient; you do not have to distribute a file link. If they need to explore independently, prepare an appropriately scoped file or prototype and verify access separately. Do not rely on a hidden button to enforce that decision.
Pick the smallest source that covers the presentation
| Presentation | Native starting point | Check before sharing |
|---|---|---|
| Play one prototype | Share its presentation tab | Opening frame and planned interactions |
| Explain layout decisions | Share the prepared editor window | Canvas, page names, and returning panels |
| Send a prototype link | Review its sharing permissions | Whether source-file access is intended |
| Compare prototype and live app | Plan the switch between approved apps | Private windows during both transitions |
For the first row, tab sharing is usually the simplest route when your meeting tool supports it. The tab-sharing guide covers that source choice. Keep the editor tab out of the presentation path unless you intend to show it.
Check the design at the size the audience will actually receive. A button readable on a large display may be tiny inside a meeting tile. Choose a presentation scale that makes the relevant part legible, then rehearse the longest screen and any overlay. The playback guide documents the available scaling options; test the result rather than choosing a setting by name alone.
A common review request is “can you show the real app next?” Decide in advance whether that means ending one share and starting another, or using a continuous multi-app audience view. A clear transition is more valuable than a seamless transition that briefly reveals unrelated work.
Use ScreenK9 for a prototype-to-app walkthrough
ScreenK9 fits a walkthrough that moves among Figma, a prepared browser, and another approved application while private apps remain available locally. It captures a selected display into a separate filtered window. The multi-app sharing guide explains the setup.
Choose Show only selected, approve the work apps you need, and inspect ScreenK9 — Audience View through the full sequence. Then share that named window in the meeting. Sharing the physical display directly sends a different picture and bypasses the filtered output.
Ordinary app rules include all windows of the approved app. Allowing the Figma desktop app does not distinguish the client prototype from another private Figma window. Close unrelated Figma windows, or use native sharing for a single prepared window. ScreenK9 does not filter individual Figma layers or identify confidential project names.
For browser-based Figma, keep the work context prepared. Chrome Companion’s Work/Personal classification can help separate Chrome contexts, with limitations described in the Chrome profile guide. It is not an inspection of the design contents.
A manual region can cover a stationary area of the audience output, but it will not follow a panel, canvas object, or comment bubble. ScreenK9 has no OCR or automatic secret detection. For a prototype that already fits in one clean tab, use the native tab share; add the filtered-window workflow when the cross-app transition is the actual problem.
Rehearse the return to editing
Run a short rehearsal with safe sample content. Start at the first prototype screen, follow the longest path, return to the start, switch to the live app if needed, and come back to Figma.
Watch the recipient picture while doing this. Check for tiny text, an unexpected frame, a restored toolbar, a private window, or an editor page you did not intend to discuss. End the share before opening another project or investigating an unfamiliar panel.
Keep the final decision simple: one prototype gets one prepared tab; a multi-app review gets an explicitly rehearsed route. Treat any file link sent after the call as a separate access decision.
Sources checked
- Figma: Play your prototypes
- Figma: Hide or minimize the UI
- Figma: Share files and prototypes
- Figma: Prototyping fundamentals course
Documentation and ScreenK9’s capture rules were checked October 1, 2026. These are preparation instructions; no live Figma meeting experiment is claimed.