
Start with a prepared folder and one window
If you only need to demonstrate a few files, create a folder containing suitable sample documents and share that Finder window through your meeting app. This keeps the task small: you know which folder should appear and which filenames the audience should see.
Use copies intended for the demonstration. Check their names, preview thumbnails, and contents before the call. A file called “Sample invoice” can still contain a real customer’s address when opened. Preparing the folder matters more than making its surrounding sidebar look tidy.
Avoid choosing your entire Home folder as a supposedly clean starting point. It is a useful everyday location, but it is not an audience-specific collection. A small folder named “Demo files” is easier to inspect.
Remove Recents and change where new windows open
Open Finder, then choose Finder → Settings. In Sidebar, deselect Recents. In General, change New Finder windows show to the folder you prepared; use the folder chooser if it is not already listed.
Apple’s Finder settings guide documents the new-window destination and sidebar controls. It also notes that sidebar items appear in Open and Save dialogs. Menu wording can differ on older macOS releases.
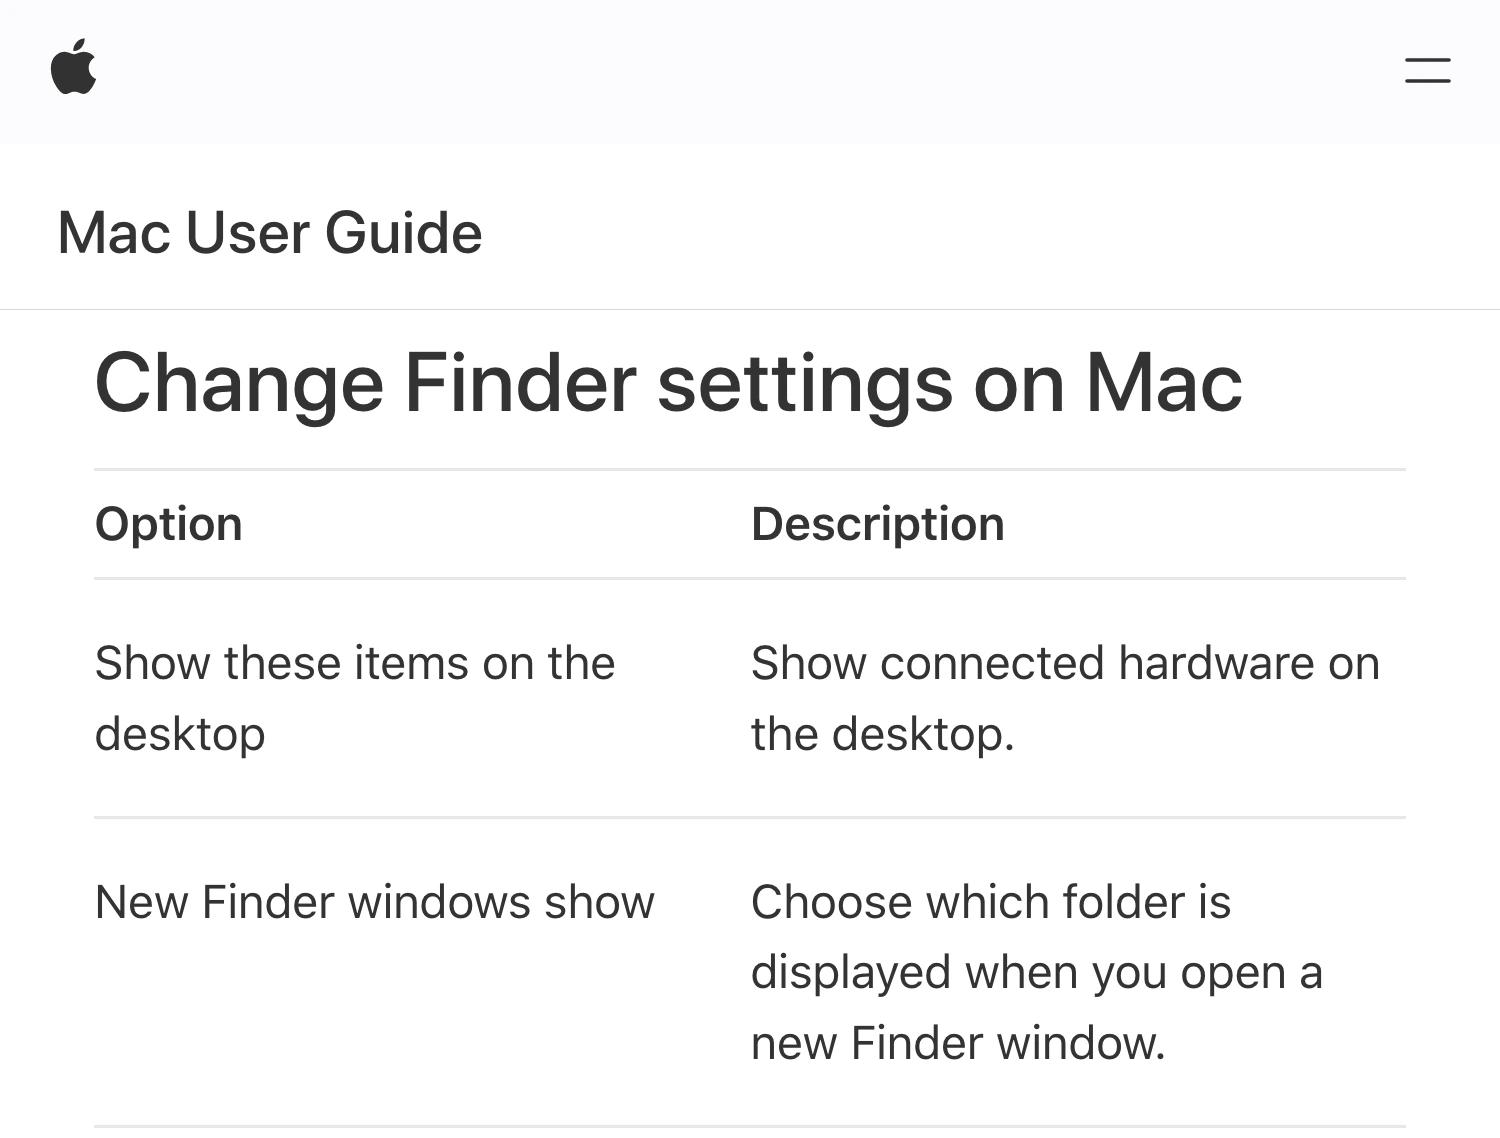
Apple Mac User Guide, captured September 24, 2026. Cropped source-header and settings-table excerpts retain the source identity and new-window setting.
Now open a fresh Finder window and check the result. Separately inspect windows that were already open: a new default is not a reason to assume their current contents changed. Navigate each window you might show to an approved location, or close it before presenting.
Do this preparation with screen sharing stopped. Changing the settings during the call can expose the very list you are trying to keep out of view.
Hiding Recents does not erase a history store
Finder Recents is a view of files, not a disposable folder of duplicate copies. Do not select everything in that view and move it to the Trash merely to make the list disappear. You could remove the underlying documents.
MacMost’s explanation of Finder Recents shows why the name can mislead: the list is organized around files you have opened and can reach much further back than yesterday’s work. The video above explains that behavior; you do not need its later Smart Folder customization for this presentation workflow.
Removing the sidebar shortcut is also not a confidentiality boundary for someone using your Mac. The files remain accessible through their normal locations and other searches. This guide prepares what an audience sees during a demonstration; it does not promise to remove records of past activity.
| Surface | What to check before sharing |
|---|---|
| A new Finder window | It starts in the prepared folder |
| An existing Finder window | Its current folder and tabs are appropriate |
| An app’s Open or Save dialog | Names, sidebar locations, and selected folder are suitable |
| A document preview | The contents and filename are safe to show |
Disabling indexing for your whole account is unnecessary for this task. It can also interfere with the everyday searches you rely on. Prefer a known starting location and a narrow capture selection.
Rehearse the Open and Save dialogs
A walkthrough often starts in a clean folder and then moves into an application. The next revealing moment can be Open, Save As, or an attachment picker.
Run the exact sequence privately. Open the sample document, invoke the dialog you expect to use, and check its starting location. Inspect the visible filename, nearby files, sidebar entries, and any recent-location controls. Cancel the dialog if you are only testing it.
Changing a Finder sidebar setting does not justify assuming that every application’s own recent-document menu is empty. An app can present its own list independently. Check the actual app you will demonstrate instead of searching for a universal “clear all recents” switch.
Also inspect the desktop if your demonstration may expose it. Finder’s sidebar and desktop icons are different surfaces; the desktop-icon sharing guide covers that separate preparation.
Use ScreenK9 when Finder is only one part of the walkthrough
For a demonstration that moves between a browser, an editor, and files, ScreenK9 can create one filtered audience window from a selected display. A useful starting point is an allow-only profile containing the apps needed for the walkthrough.
If you do not need to show Finder, leave it out of the allowed apps. Configure wallpaper and desktop-icon visibility separately, then inspect the result. If you do need Finder, allow it only after preparing the relevant windows and files.
The important boundary is application-level selection. ScreenK9 does not let you approve one ordinary Finder window while automatically keeping every other Finder window private. Close or prepare unrelated Finder windows before allowing the app.
Start the audience view, inspect it, and select ScreenK9 — Audience View in your meeting app’s window picker. Sharing the physical display directly bypasses that filtered view. The multi-app sharing guide explains this setup.
Do not assume excluding Finder also hides a file dialog opened by an allowed application. Treat that dialog as part of the app’s presentation and rehearse it. ScreenK9 does not inspect filenames or document contents to decide which ones are sensitive.
Manual redaction regions cover fixed areas you configure. They do not automatically follow a sidebar, recognize private files, or track text when a dialog moves. Use them only with a stable, checked layout; the manual masking guide explains those limits.
Check the audience’s next view
Before the call, open a new Finder window, visit the prepared folder, preview a sample file, and complete the application’s Open or Save sequence once. Repeat the check after changing window size or display arrangement.
Finally, inspect the meeting preview or a second participant’s view. Make sure the folder is readable and the intended capture boundary survives the transition into the next app. Begin the demonstration only when the entire sequence shows the files you meant to present.