
Choose the smallest useful share
For a document review or short demonstration, start with one prepared window. FaceTime’s native selection is usually all you need. Open the document before the call, check its contents, and close unrelated tabs or panels inside that same window.
Do not confuse a FaceTime call’s own layout with the content you are sharing. Making the video call smaller, arranging participant tiles, or moving the call to another corner does not choose which document the other person receives.
Likewise, a window is not necessarily a single piece of content. A browser window can contain multiple tabs, a bookmarks bar, and an account menu. If the task is specifically to conceal browser tabs, the browser-tab sharing guide explains that narrower problem.
Select a window, then add only what you need
Apple’s current FaceTime screen-sharing guide describes the controls used here. The steps were checked on September 24, 2026; older macOS versions may label or arrange them differently.
- Open the app you want to demonstrate during the FaceTime call.
- Open the Video control in the menu bar, then the screen-sharing control.
- Point to the intended window and select Share This Window.
- To include another window, open the menu-bar sharing control and choose Add Windows, then select that window.
- Finish with Stop Sharing in the sharing control when the presentation is over.
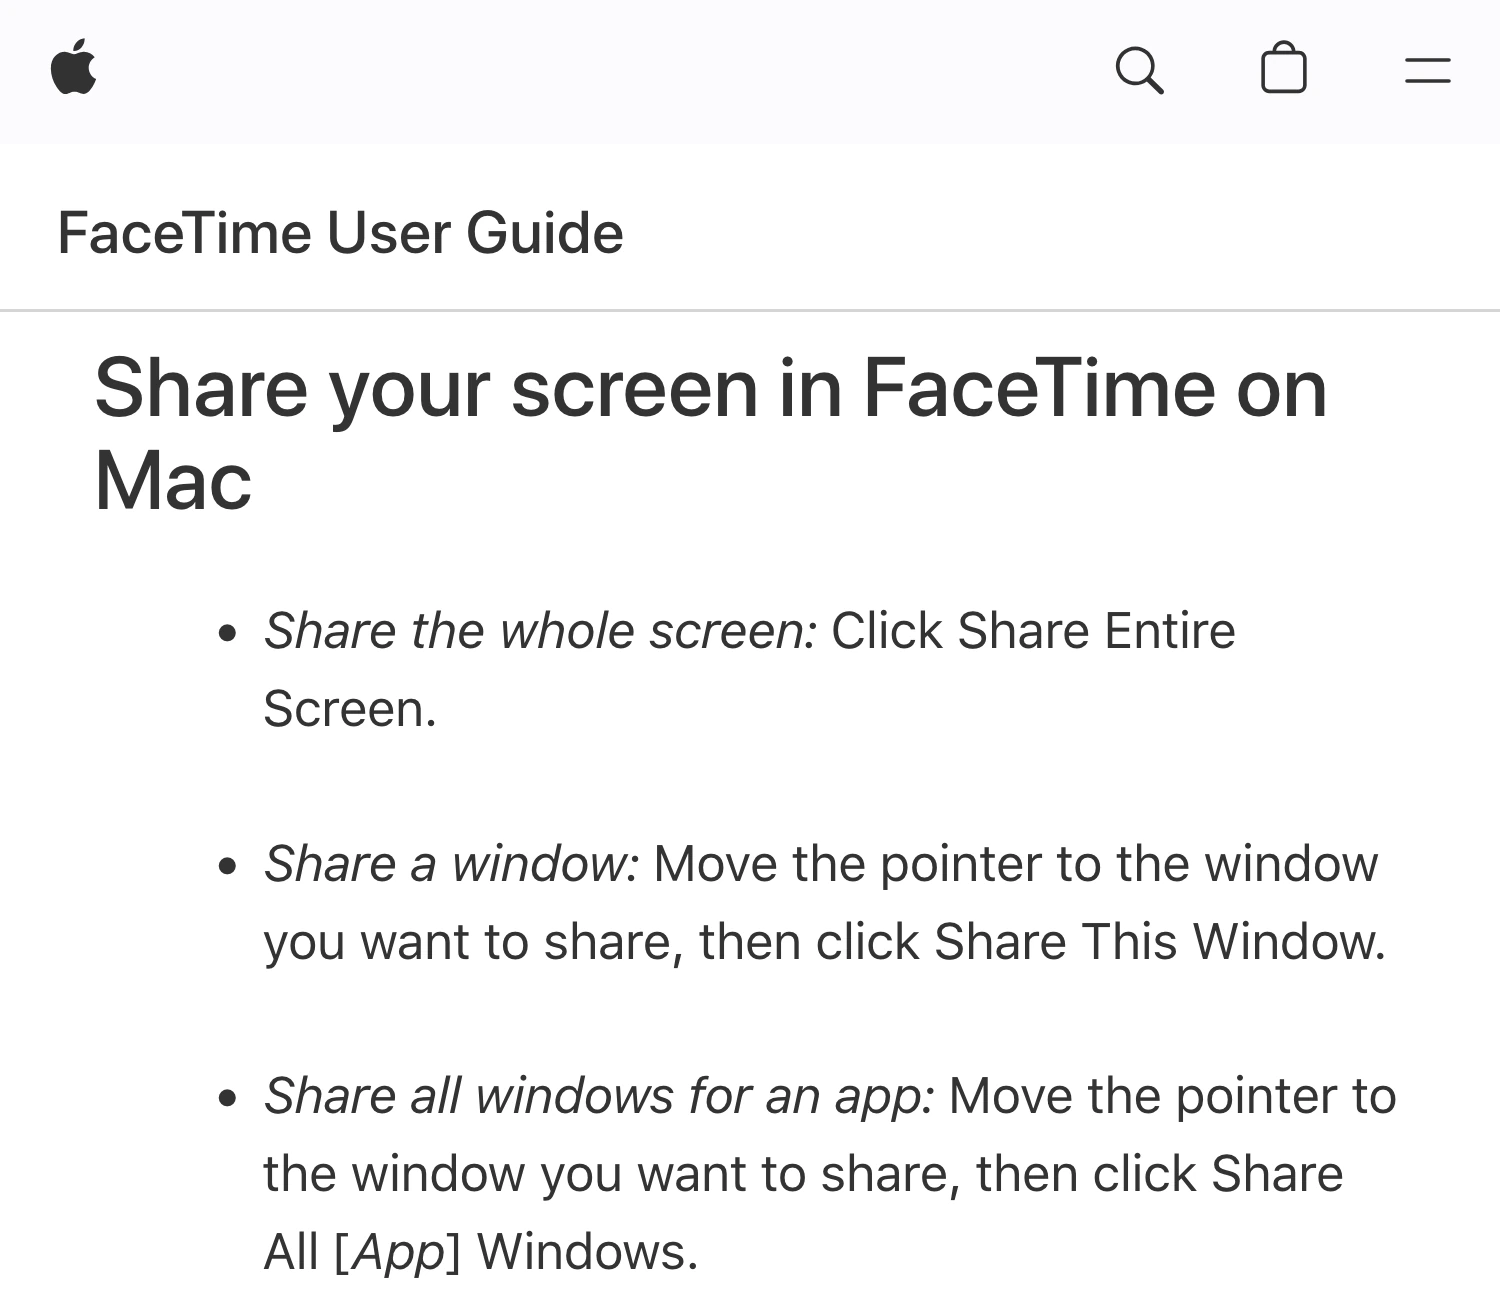
Apple FaceTime User Guide, captured September 24, 2026. Cropped source-header and sharing-options excerpts preserve the original wording and Apple branding.
The native picker also offers Share All [App] Windows. That is broader than selecting one prepared document. Choose it only when all the relevant app windows are suitable for the audience.
| Your presentation | Sensible starting point |
|---|---|
| One document or browser window | Native single-window share |
| A few explicitly chosen windows | Native window sharing, then add windows |
| Every window of one prepared app | Native app-window option |
| A reusable filtered view across work apps | Consider ScreenK9’s Audience View |
There is no need to introduce another tool solely because a second window becomes useful. First decide whether FaceTime’s existing selection already covers the demonstration.
Rehearse transitions before the real call
A presentation rarely stays on its opening frame. The part worth rehearsing is what happens after you click a link, open a second document, or switch to another application.
Write down the short sequence you plan to show: for example, review a PDF, inspect a sample spreadsheet, then return to the PDF. Decide which windows belong in the audience view before you begin. Avoid discovering your capture choices while a client is waiting.
When possible, use a second participant’s view to check the result. Make the document text readable there, rather than judging only from your own large display. Keep a small reference item visible so you can tell whether the expected window is actually being received.
If an unexpected dialog or window appears, stop sharing before reorganizing the workspace. Do not broaden the selection to the whole screen simply to recover from a confusing picker. Prepare the new window privately, then resume with the intended scope.
Viewing and remote control are different decisions
For a presentation, the other person usually needs to see your work while you remain in control. Remote support is a different task.
Apple’s FaceTime screen-control guidance explains that control requires permission and can allow the other person to interact with apps and files. You can decline a control request while continuing the screen share.
The video above shows a support conversation that starts through Messages or FaceTime. It is useful for understanding viewing versus control, but its full-screen example is not the recommended capture choice for a focused document presentation.
ScreenK9 is not a remote-control restriction system. Sharing its output window does not turn an independently granted control session into a sandbox. If someone only needs to watch the demonstration, keep the interaction at that level.
After a support session, check that control and sharing have both ended as intended. Do not infer either state merely because the person stopped moving the pointer.
Use ScreenK9 for a prepared filtered audience window
ScreenK9 becomes relevant when you want to reuse an app-filtering profile across a browser, editor, and other work apps, or need a manually configured fixed redaction area in that output. It creates a separate macOS window from the selected display.
Choose the work apps for an allow-only profile, configure any supported desktop elements you want hidden, and start the audience view. Inspect it before sharing. Then use FaceTime’s window picker to select ScreenK9 — Audience View.
This is ordinary window sharing, not a FaceTime-specific integration. If the Audience View is unavailable in your picker, stop and check the setup; selecting the underlying physical display bypasses the filtered output. Confirm the recipient sees the intended view before continuing.
For ordinary apps, ScreenK9’s selection applies to the application. Allowing an editor does not approve just one editor window and reject every other window from that app. Prepare or close the unrelated windows first. FaceTime’s native individual-window selection may be the better choice when that distinction is what matters most.
Chrome profile filtering has its own setup and limits, described in the Chrome profile guide. It does not automatically identify sensitive text inside an allowed page.
Manual redaction regions also stay where you configure them. They do not read the screen, discover secrets, or follow text as it moves. The multi-app workflow explains how to inspect a composed audience view before using it in a call.
Finish with a small audience rehearsal
Before presenting, verify three things: the right window is selected, the next planned transition shows only prepared content, and the recipient can read the important text. If you are using ScreenK9, repeat this check in its output and in the recipient’s view.
When the review ends, use the sharing control to stop. Keep the conversation going if needed, but reorganize personal documents only after confirming the share has ended.