
Choose the recording result first
“Record multiple windows” can describe several different outputs. Choose the result before adding sources.
| Result you need | OBS starting point | What it means |
|---|---|---|
| One fixed window | macOS Screen Capture in Window Capture mode | Captures the selected window |
| All visible windows from one app | Application Capture | Captures visible windows belonging to that application |
| Several apps visible together | Add several macOS Screen Capture sources | Arrange all sources on one OBS canvas |
| A demo that switches among approved apps | Capture ScreenK9 — Audience View as one window | OBS receives one already-composed audience surface |
| A separate file for every window | Plan separate recording outputs | One composed scene does not create isolated files |
The current OBS macOS Screen Capture documentation distinguishes display, application, and window capture. On supported macOS and OBS versions, Application Capture includes the visible windows of the selected application; Window Capture targets one chosen window.
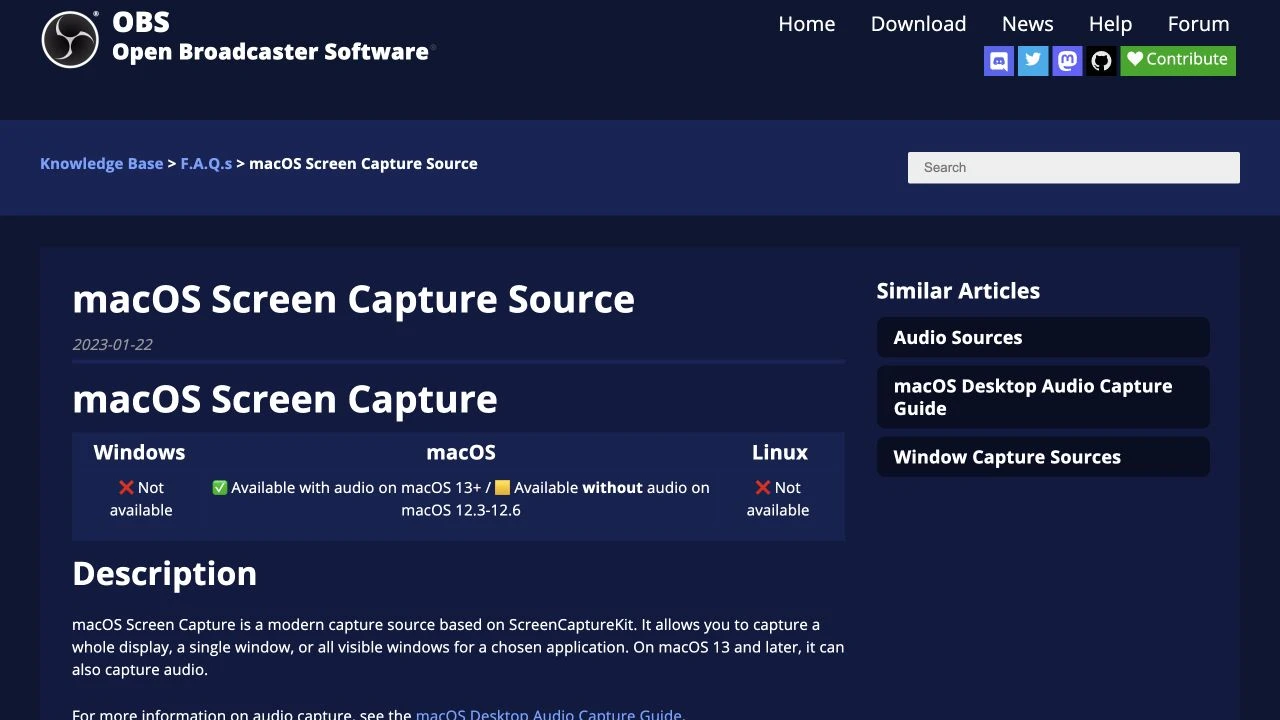
OBS Project's macOS Screen Capture knowledge base, captured September 9, 2026 at 1280×720. The logo, article title, and platform matrix keep the source recognizable.
Build a native multi-window scene in OBS
Use native OBS sources when the set of windows is stable and you want to control their size and position in the final frame.
- Open System Settings → Privacy & Security → Screen & System Audio Recording and allow OBS. Restart OBS if macOS or OBS asks you to.
- In the OBS Sources dock, click +, choose macOS Screen Capture, and create a source.
- Set the method to Window Capture for one window or Application Capture for the visible windows of one app.
- Repeat for each additional app or window.
- Resize and position the sources on the canvas. Keep account names, browser chrome, and unused edges outside the final composition.
- Record a short test, then review the saved file—not only the live preview.
This gives you deliberate layouts such as a browser beside a terminal or a product window above a notes panel. It also means every source has its own lifecycle. A renamed, closed, minimized, or recreated window may need to be selected again, so repeat the test after reopening anything important.
Apple exposes screen and system-audio recording as a privacy-controlled permission. If a source is blank or missing, confirm the permission before rebuilding the scene. The OBS sources guide is the reference for source ordering, transforms, and other composition controls.
Use one Audience View for a changing demo
A multi-source OBS scene is ideal for a fixed layout. It becomes awkward when the recording must follow whichever approved app is active while private apps remain open.
For that workflow:
- Create an Allow only profile in ScreenK9.
- Approve the work apps needed for the recording.
- Classify the intended Chrome profiles as Work and leave personal or uncertain profiles out.
- Set desktop icons, notifications, menu bar and Dock visibility for the demo.
- Start ScreenK9 and rehearse the complete sequence in ScreenK9 — Audience View.
- In OBS, add one macOS Screen Capture source, choose Window Capture, and select ScreenK9 — Audience View.
- Fit that source to the canvas and make a 30-second test recording.
ScreenK9 is the capture boundary in this setup; OBS still handles the canvas, encoder, audio, file format, and recording. Do not add the physical display as a second source unless the recording intentionally needs it, because a display source can reveal everything ScreenK9 kept outside Audience View.
The general setup guide for this boundary is sharing multiple apps without sharing the entire screen. If the demo crosses browser identities, also test the Work-versus-Personal Chrome profile boundary.
Treat audio as a separate decision
ScreenK9 does not capture, mix, or route audio. Configure the microphone, application audio, or system audio directly in OBS according to the apps and narration the recording needs.
OBS documents audio capture through macOS Screen Capture on supported macOS versions, but visual inclusion does not prove that the intended audio is present. Watch the OBS meters, listen through monitoring when appropriate, and play back the saved test. The OBS macOS desktop audio guide covers the supported methods and version requirements.
This separation also avoids a privacy mistake: a visually hidden app can still make a sound. Quit or mute communication apps that should not be heard, and include an audio transition in the rehearsal.
Test the failure transitions
Run these checks while recording a short disposable clip:
- Switch between every approved app in the scripted order.
- Open a blocked app and confirm it never enters the audience surface.
- Move between Work and Personal Chrome windows.
- Open a new window and a system dialog.
- Minimize or close an approved source and confirm the output fails safely.
- Verify microphone and application audio in the saved file.
ScreenK9's Chrome matching is local and fail-closed: personal, unclassified, stale, and ambiguous matches stay hidden instead of being guessed safe. For ordinary apps, the inclusion decision is app-level, so approved content inside that app remains visible. Fixed redaction regions can cover a stable area, but ScreenK9 does not use OCR or automatically identify secrets.
The practical rule is: use native OBS sources for a fixed composition; use one tested Audience View when the approved app changes during the recording. ScreenK9 is a screen sharing privacy app for Apple silicon Macs running macOS 14+, with a 7-day free trial.
Sources checked
- OBS Project: macOS Screen Capture Source
- OBS Project: Sources Guide
- OBS Project: Beginner's Guide to Scenes & Sources
- OBS Project: macOS Desktop Audio Capture Guide
- Apple Support: Control access to screen and system audio recording on Mac
OBS documentation, the official branded video, and ScreenK9 v0.3.4 behavior were rechecked on September 9, 2026.