
Open the note in a separate window
Start with the note you have approved for the audience. In Notes, choose List view, then double-click the note in the list. Apple’s current viewing guide distinguishes this from double-clicking a note in Gallery view, which opens its contents within that view.
The separate window gives the meeting a useful boundary: the note itself, without the main library beside it. Check the window’s title and the entire note before starting the share. A clean first paragraph is insufficient if scrolling reveals a private address, a linked document, or internal discussion lower down.
Use this sequence:
- Open the approved note in its own window.
- Resize it so the text is comfortable to read at the audience’s likely screen size.
- Open the meeting’s sharing picker and choose that specific window.
- Confirm the preview contains the note, without the main Notes library.
- Check the received picture with a colleague or a second device before discussing sensitive material.
Apple documents Command+1 for List view in its Notes keyboard reference. If a shortcut differs with your keyboard or system version, use the app menu. The important result is the standalone note window, not a particular shortcut sequence.
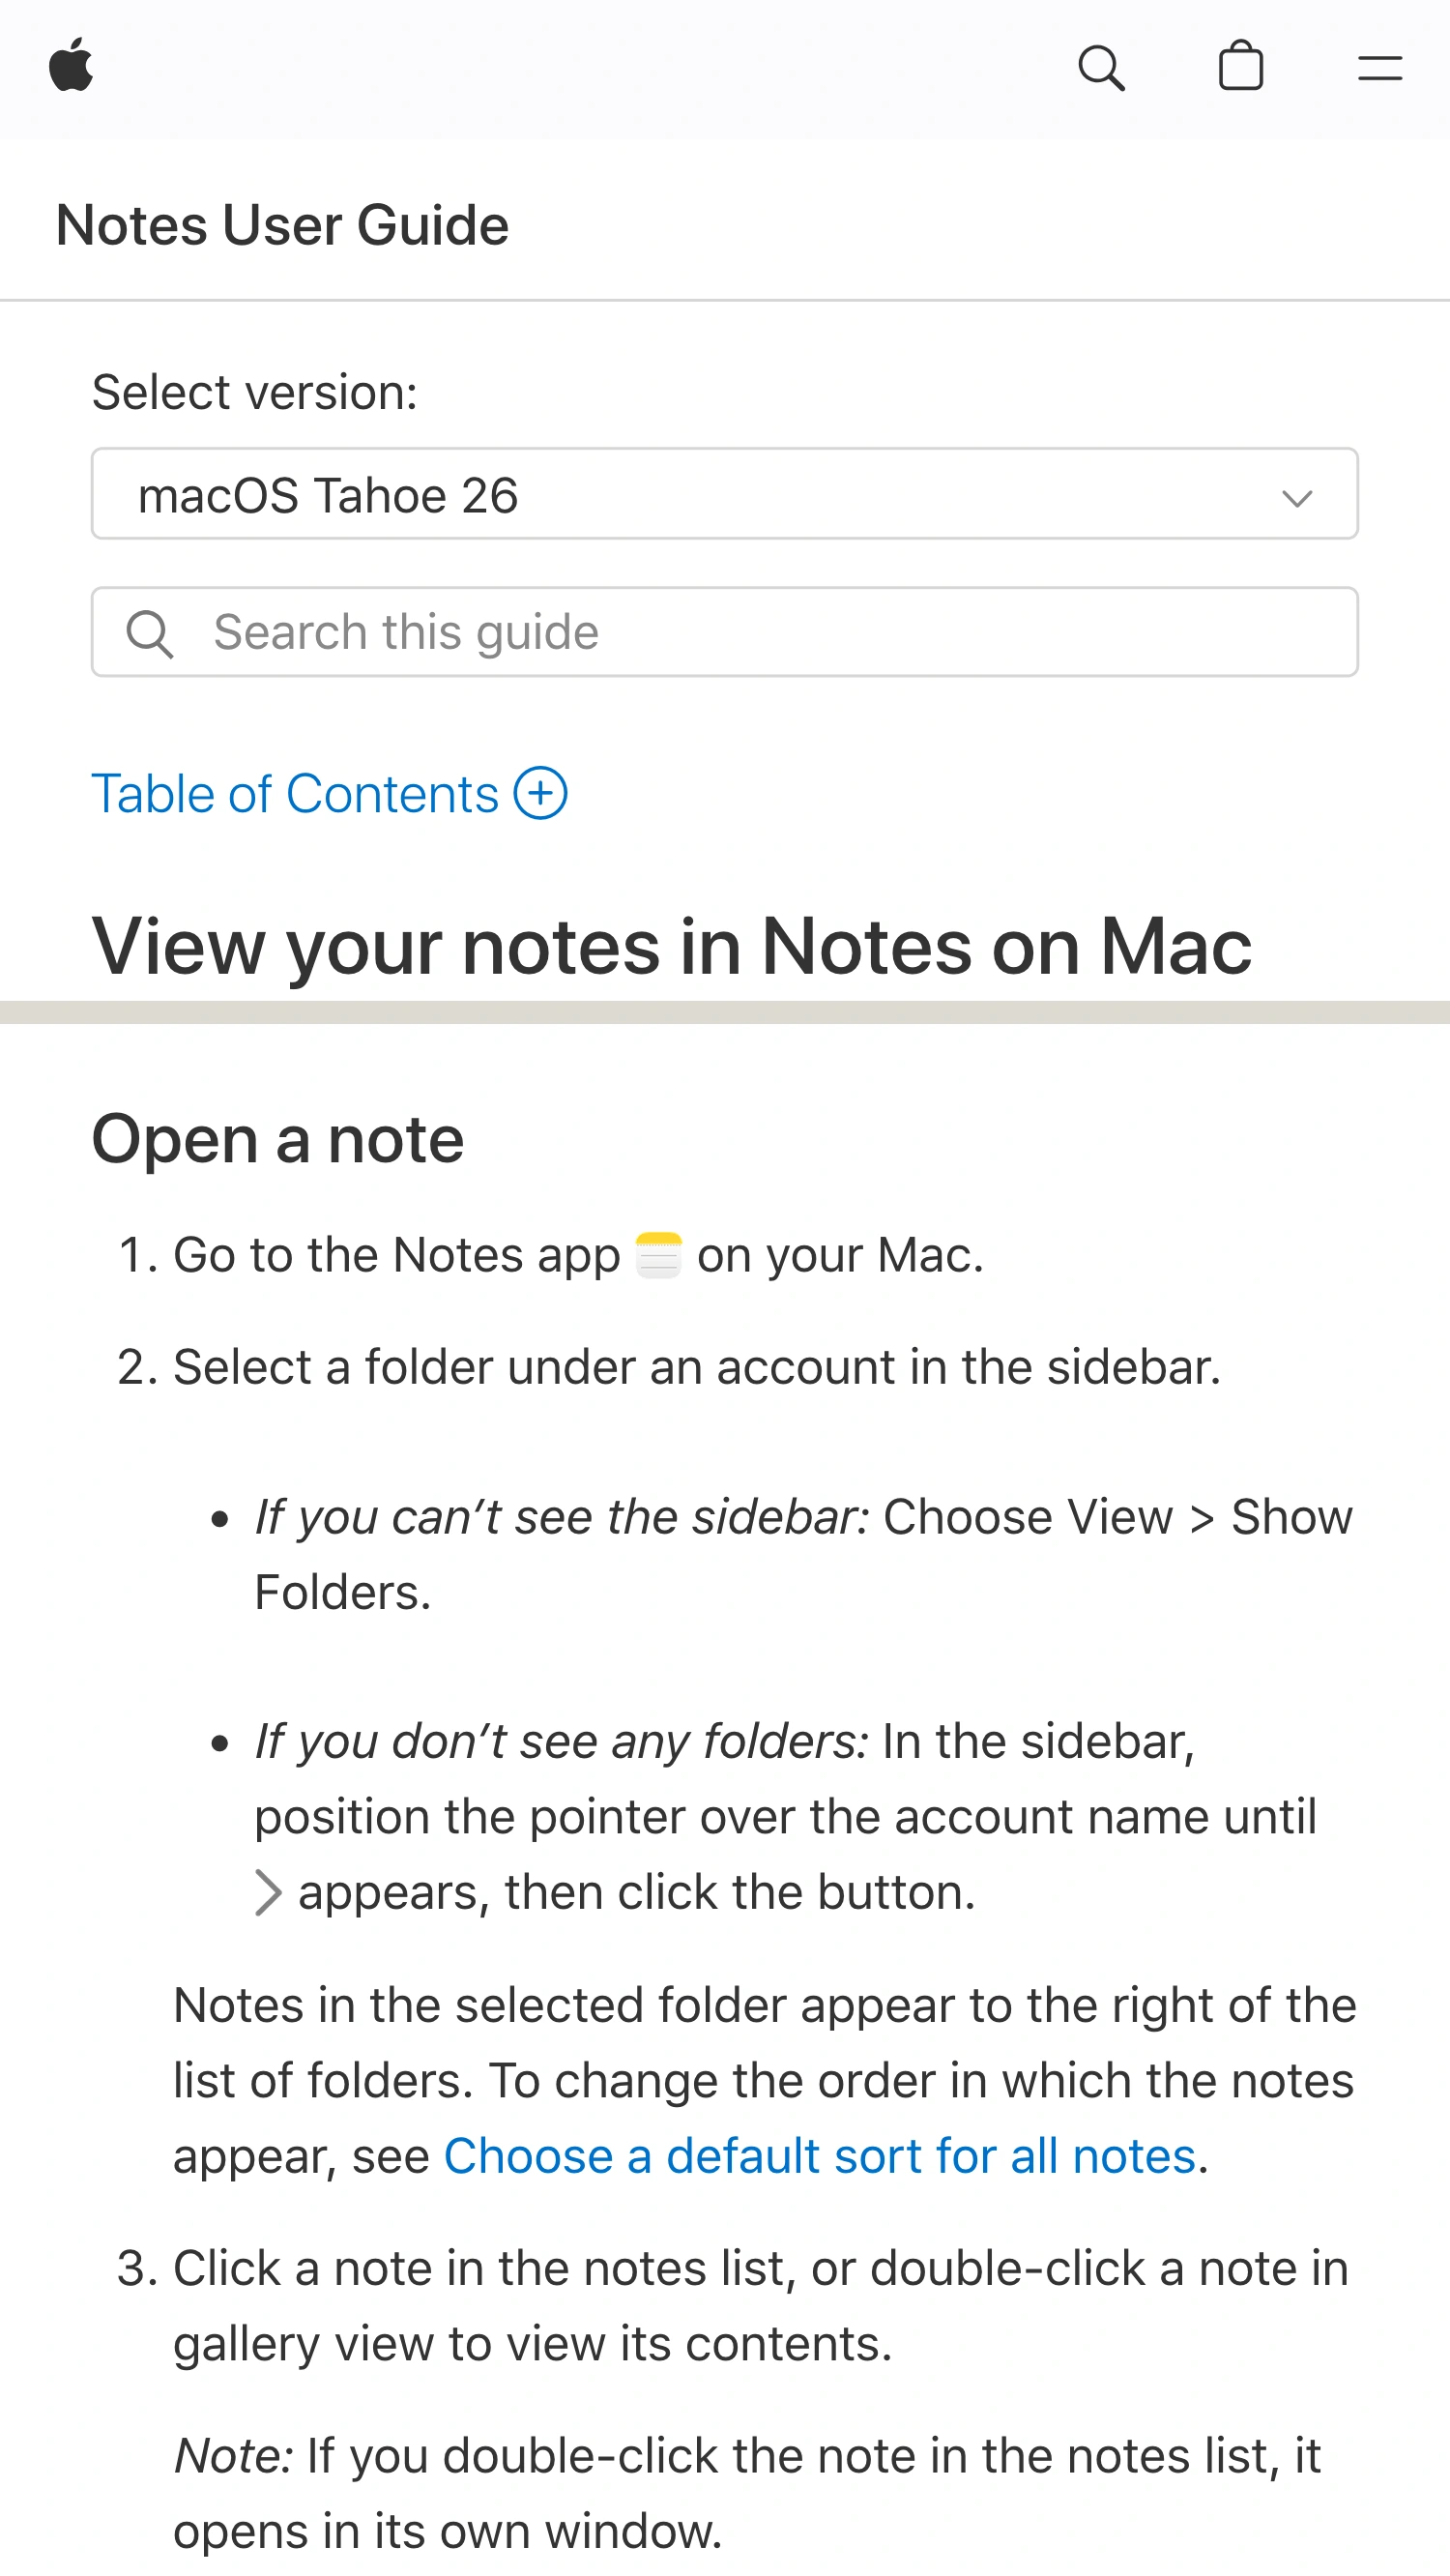
Apple Support, captured October 12, 2026, with macOS Tahoe 26 selected. Two cropped excerpts retain the branded header and the separate-window instruction; intervening introductory content is omitted. No page text was rewritten.
Hiding folders and hiding the notes list are different
The main Notes window can expose several kinds of information at once: account or folder names, note titles and previews, and the selected note’s contents. Closing a navigation pane does not establish that all neighboring information has disappeared.
For a one-note explanation, opening a standalone window avoids trying to tidy the entire library. You do not need to delete old notes, move personal material into another account, or reorganize your folders just for this call.
| What you need to show | Simple starting point | What to inspect |
|---|---|---|
| One approved note | Share its separate window | Title, full contents, and attachments |
| Several notes | Prepare approved windows or a clean presentation note | Every source change and linked note |
| A private prompt while showing another app | Share the other app’s window | The picture actually received |
The last row is a different job. If the note is only your speaking prompt, leave it out of the selected source. The speaker-notes guide covers preparing private reference material alongside a presentation.
Rehearse links, attachments, and returning to the library
A window selection is only useful while the presentation stays within the boundary you intended. Make a short list of the actions you will perform: scroll, expand a section, open an attachment, follow a note link, or return to the main app.
Try those actions with harmless content before the call. An attachment may need another window or application, which can require a deliberate source change. Do not solve a missing attachment on the fly by immediately switching to the whole display.
Apple lists Command+0 as the command for showing the main Notes window. Treat that as a transition to test, particularly if your meeting is capturing an application rather than one specific window. Similar-looking choices in a sharing picker can have different boundaries; the preview and participant view settle which one you selected.
For a readable note, Apple also documents View → Zoom In and View → Zoom Out. Use the note’s text controls before enlarging the shared area to include more of your desktop. Check a long line, a table if present, and the smallest attachment label from the receiving side.
Keep On Top does not mean keep out of capture
The video above shows how a separate note can float over other windows using Keep On Top. That is a useful local arrangement when you take notes or follow a checklist. It is not a promise that a screen recorder will omit the note.
If you select the physical display, a note visible on that display can enter the transmitted picture. If you select a specific presentation window, check that the receiver continues to see that intended source when you bring the note forward.
Also prepare notifications separately. A standalone note window does not configure macOS notification behavior. Follow the notification preparation checklist if messages or reminders might interrupt your walkthrough.
Add ScreenK9 for a mixed-app walkthrough
Native window sharing is the simplest option for one note. ScreenK9 becomes relevant when the route includes several approved apps and you want one continuous audience source while other apps stay private locally.
ScreenK9 captures a selected display into a separate filtered macOS window. Its ordinary application rules apply to the whole application. Allowing Notes does not select only your approved note while excluding other Notes windows.
Choose a setup that matches this limit:
- If Notes belongs in the walkthrough, close its unrelated windows and prepare the remaining content before allowing the app.
- If Notes is only your private reference, leave Notes out of an allowlist containing the work apps you plan to show.
- If one approved note must remain visible while another Notes window stays private, use native sharing of the approved window instead of assuming an app rule can separate them.
Share ScreenK9 — Audience View in the meeting, then repeat your planned app switches while watching the recipient picture. Sharing the physical display directly bypasses ScreenK9’s filtered output. The multi-app guide explains this source choice.
A manual redaction region can cover a fixed area, but it does not recognize note titles, follow a moving window, or detect secrets. ScreenK9 does not change the note’s contents or its sharing permissions. These instructions follow the current implementation; they are a rehearsal plan, not a claim that we ran your meeting configuration.
End the share before returning to private work
Before the session, confirm three things from the audience side: the correct note is selected, its smallest useful text is readable, and every planned transition shows only approved material. If you change the window arrangement during the call, check again before continuing.
Stop the share before browsing the library or opening another personal note. Sending a note afterward is a separate decision: Apple’s sharing guide distinguishes collaboration from sending a copy. Showing a note as meeting video does not require either action.
Sources checked
Platform documentation and ScreenK9’s application-filter boundaries were checked October 12, 2026.