
Choose cable or AirPlay before the meeting
Zoom includes iPhone and iPad sharing in its desktop app. You do not need an additional mirroring product for a straightforward phone demonstration. Start with a current Zoom installation and a short test meeting with the same account you will use for the presentation.
| Your situation | Native starting point | Main check |
|---|---|---|
| Phone-only demo from a Mac | iPhone/iPad via Cable | The device is connected, trusted, and showing the approved content |
| Wireless demo on a suitable network | iPhone/iPad via AirPlay | Both devices use the same network and AirPlay can connect |
| Phone preview beside Mac material | QuickTime preview plus native Zoom window selection | Only the intended windows are selected |
| Repeated movement among approved Mac apps | ScreenK9 — Audience View | The allowed apps and phone preview are safe for viewers |
The first two choices send the device screen to the meeting. They are different from using the iPhone’s physical camera as a webcam. If the audience should see a mobile app, check that the preview shows its interface rather than the room in front of the camera.
Share the phone over a cable
In the meeting, open Share and choose iPhone/iPad via Cable. If it is not on the first panel, check Advanced. Zoom’s current screen-sharing guide describes the Screens, Documents, and Advanced sections; available choices can depend on account settings.
Choose the wired device source and start the share. Connect the iPhone to your Mac as prompted. On your own device, confirm the trust prompt and enter its passcode if required. Keep the phone screen on and open the approved demonstration content.
Zoom’s dedicated cable-sharing article confirms that a connected, trusted device with its screen on can be shown in the meeting. The wired workflow is for macOS. Use a cable appropriate to your device; do not interpret the old minimum versions in legacy help articles as a recommendation to run unsupported software.
Do the connection and trust setup during rehearsal, before an audience is watching. Once sharing starts, treat the device’s visible screen as live presentation material. Stop the share before investigating an unexpected prompt or navigating into private content.
Use AirPlay when the network supports it
Open Zoom’s sharing chooser and select the iPhone/iPad wireless option. Follow its instructions, then open Control Center → Screen Mirroring on the phone and choose the Zoom–computer destination shown for your Mac.
Zoom’s iOS desktop-sharing documentation requires the computer and phone to be on the same network, with AirPlay allowed through the relevant network and computer firewalls. To finish, use Stop Mirroring on the phone or Stop Share in Zoom.
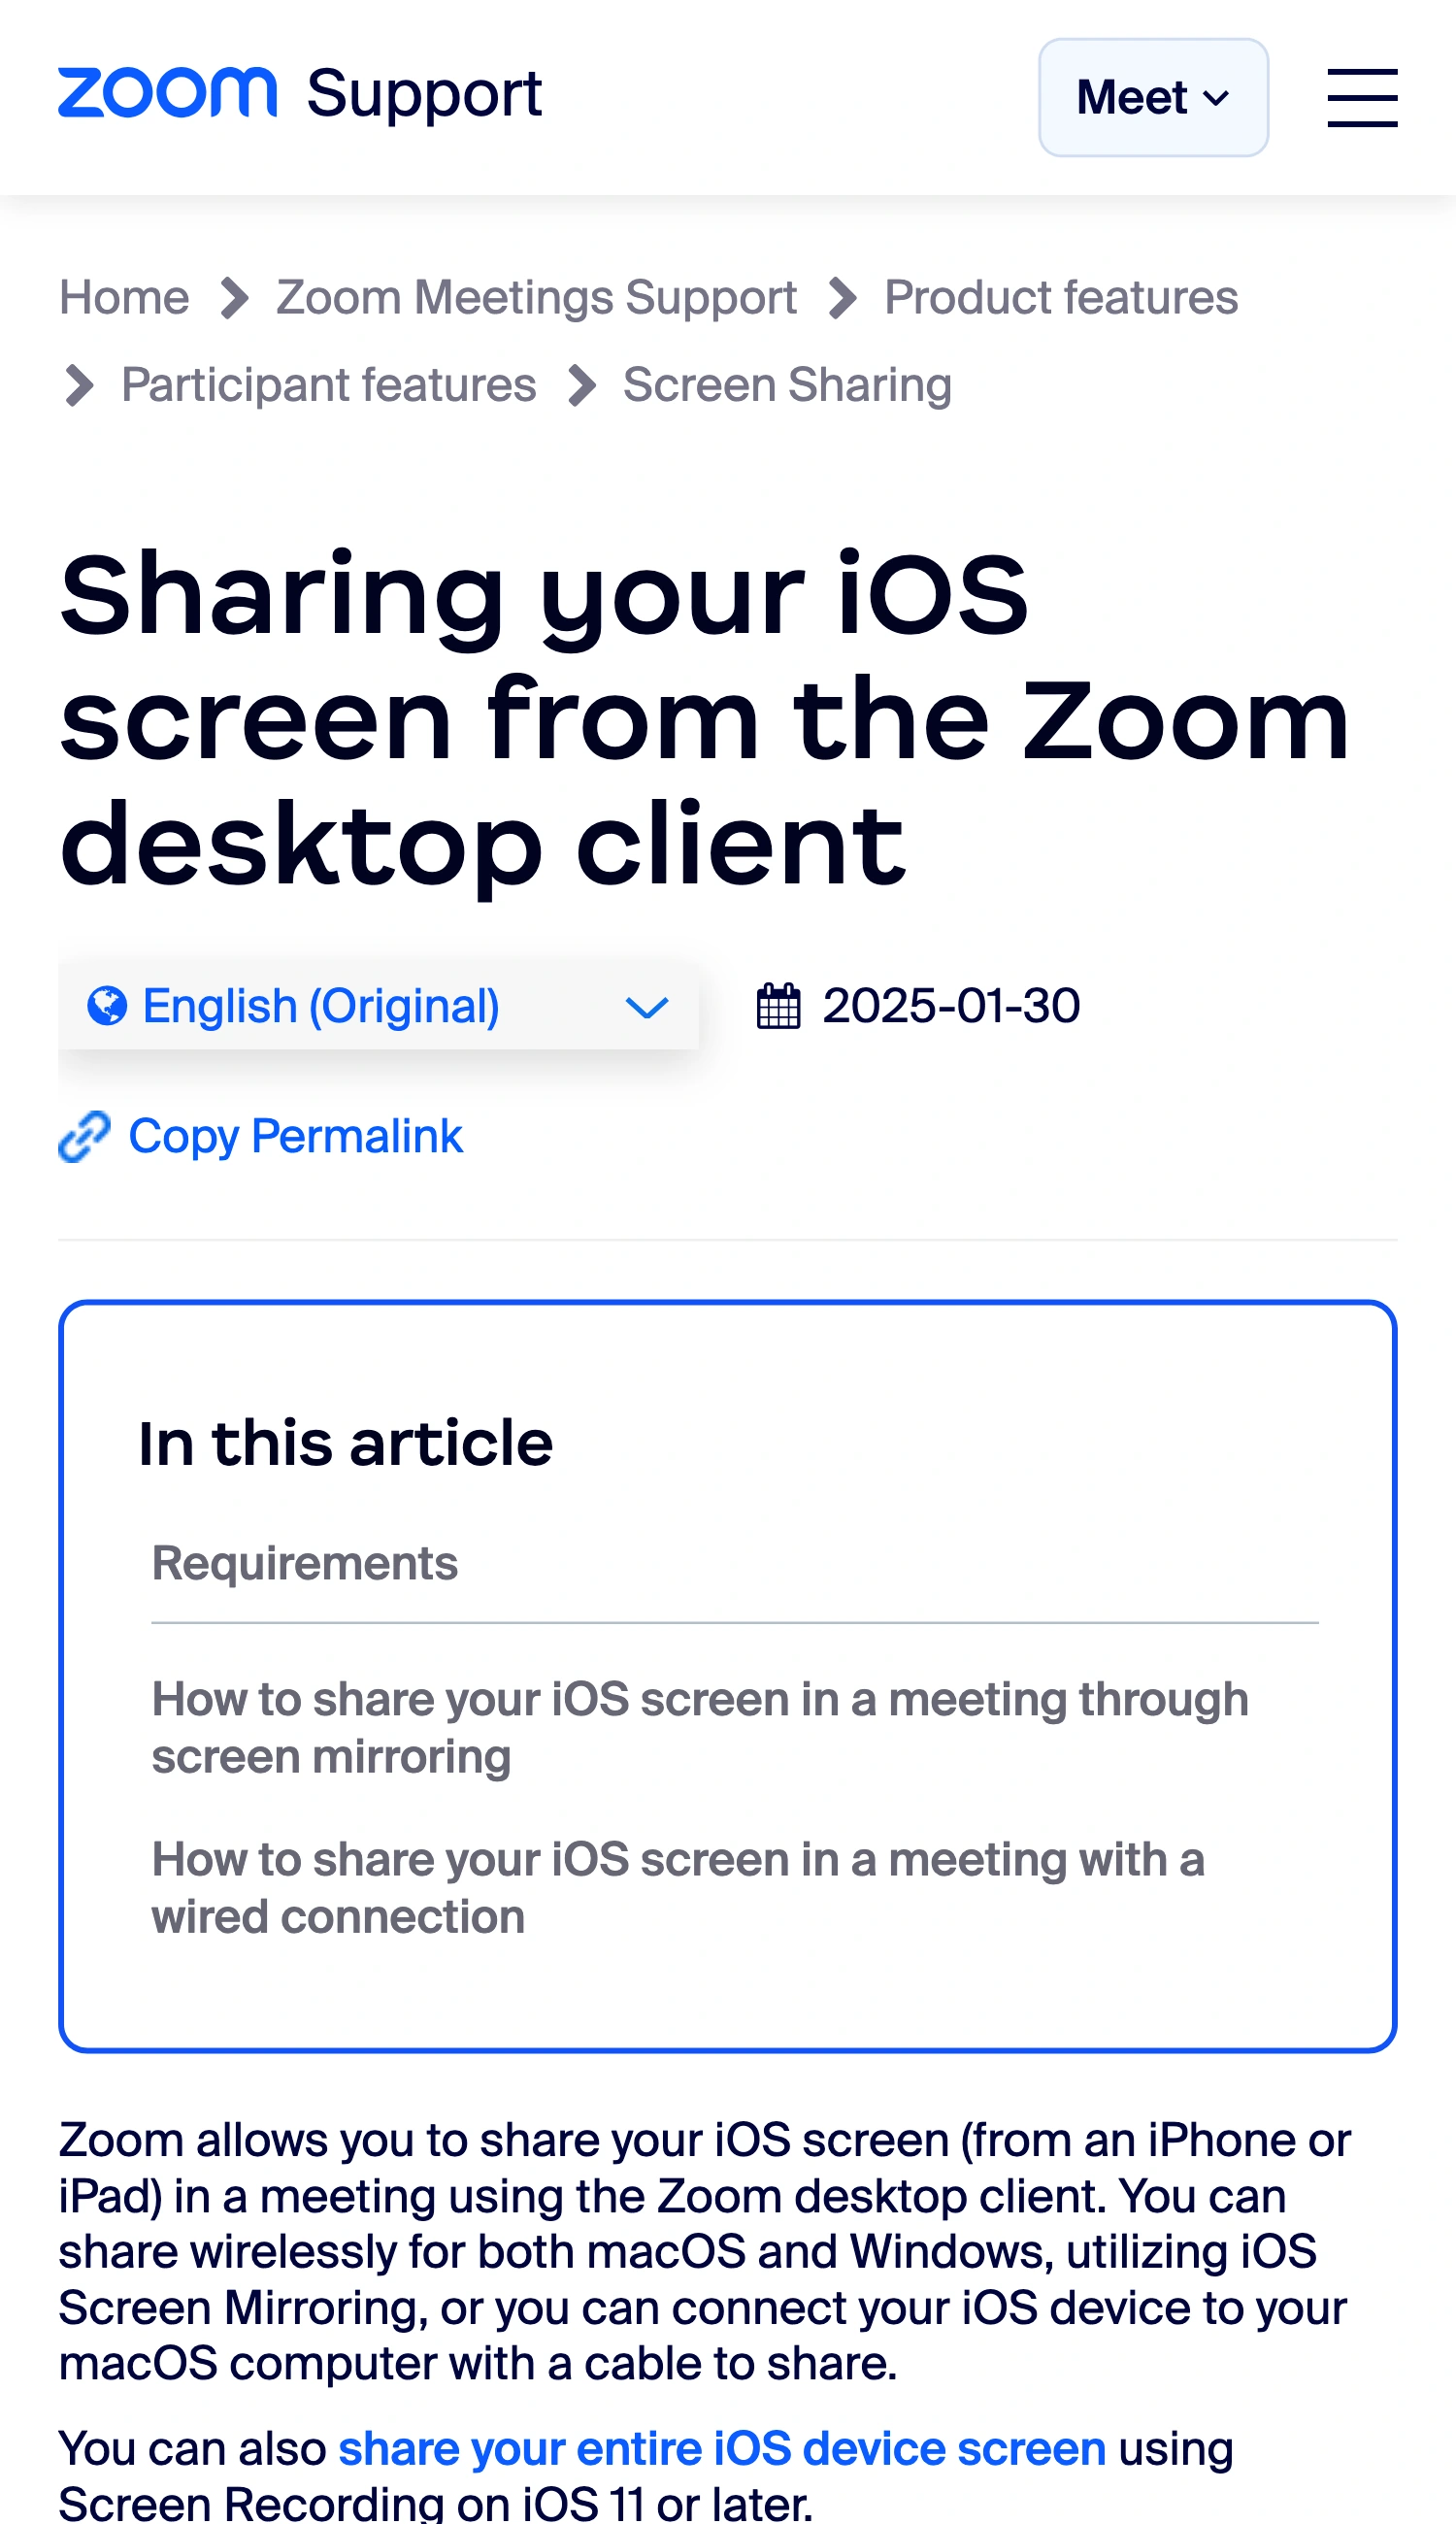
Zoom Support, captured October 10, 2026. The official guide distinguishes wireless screen mirroring from the wired Mac workflow.
If the destination does not appear on a managed office or campus network, ask the administrator about AirPlay support or use the wired Mac method. Do not make broad firewall changes simply to complete a demonstration. A wireless failure does not mean the phone’s screen can never be presented.
Some protected video cannot be shared through screen mirroring. Also check the host’s sharing permissions when options are missing. ScreenK9 does not bypass those meeting or content restrictions.
Prepare the iPhone itself
Before connecting, move to the demonstration’s starting screen and rehearse the exact navigation. Avoid a sequence that requires searching through recent photos, messages, browser history, or a password manager while the share is active. A sample account gives you a predictable route through the app.
Configure an appropriate Focus on the phone and review its allowed people and apps. Apple’s Focus setup guide explains those choices. Focus settings can contain exceptions, so test the result instead of assuming that every interruption has been disabled.
For the Mac side, use the separate notification preparation guide. Silencing the computer does not establish that the phone’s own display is ready. The two devices can show different alerts and account information.
Use a second participant view to verify legibility. A portrait phone contains small controls; an audience watching a small meeting tile may struggle to read them. Keep the demonstration focused on a few relevant screens and narrate the action rather than rushing through tiny labels.
Put the phone in a Mac window for a mixed demonstration
When you need the phone beside slides or another Mac app, QuickTime Player provides a useful native building block. Connect the phone, open File → New Movie Recording, and use the capture-device selection control to choose the connected iPhone as the camera source. Apple documents this under using a connected device in QuickTime.
Check the live preview before choosing it in Zoom. You do not need to create a movie file merely to inspect that preview. This is a proposed presentation workflow assembled from Apple’s capture controls and window sharing; rehearse it on your hardware rather than assuming every device, OS, and meeting configuration behaves identically.
Zoom already supports selecting multiple application windows: its current guide specifies Shift on macOS while selecting them. If that set of windows meets your needs, use it. The single-window recording guide explains the related distinction between preparing one source and capturing a desktop region.
Use ScreenK9 for a recurring approved-app workflow
ScreenK9 becomes useful when the demonstration repeatedly moves among the phone preview, slides, and other approved Mac applications while unrelated apps remain open. Select the source display, choose Show only selected, and include the applications needed for the sequence.
Inspect ScreenK9 — Audience View, then select that named window in Zoom. The multi-app sharing guide covers the audience-window setup. Sharing the physical display directly does not use this filtering path.
Keep the filtering boundary clear. QuickTime is an ordinary Mac application, so allowing it does not select only one of its windows. Close or prepare other QuickTime windows. ScreenK9 sees the phone preview as pixels inside that allowed app; it does not classify the iPhone’s apps, read messages, perform OCR, or automatically remove secrets from the mirrored picture.
ScreenK9 also does not capture or route audio. For native Zoom phone sharing, use Zoom’s sound option when appropriate and test it. For a mixed-window demonstration, verify the sound path separately with a participant. A moving picture is not evidence that the audience hears the intended audio.
Keep a tested fallback
Rehearse connecting, starting the share, moving through the approved screens, and stopping. Keep the native cable method or an approved prerecorded demonstration available if wireless sharing fails. Before resuming after any interruption, check the participant picture again: the right source, readable content, and no unintended phone or Mac material.
Sources checked
- Zoom: iOS sharing from the desktop client
- Zoom: cable sharing
- Zoom: sharing sources and windows
- Apple: QuickTime connected-device capture
Documentation and ScreenK9’s implementation were checked October 10, 2026.