
Use Webex’s application picker first
Open the applications you need before joining the meeting. In the Webex sharing dialog, select the intended app or window. If the presentation moves between several applications, hold Shift while selecting them. Webex’s meetings and webinars documentation confirms this Mac shortcut.
Check the selected items before pressing Share. A physical-screen thumbnail is a wider boundary than an application thumbnail; similar previews do not make them interchangeable. For a fixed walkthrough, native application sharing often gives you the required scope without another tool.
Then switch between the selected applications and ask a participant to confirm the result. The Mac section of Webex’s sharing guide says participants see one shared application at a time. Selecting several applications is therefore different from composing several visible windows together into one picture.
That distinction matters for a side-by-side explanation. If you need the audience to compare a browser and an editor simultaneously, test that requirement explicitly instead of assuming that multiple selected thumbnails create a combined layout.
Check whether you are sharing one window or the whole app
“Share an application” can have a broader scope than the document currently in front of you. Before the call, inspect Settings → Sharing content in Webex App. Under Share applications, the available preference distinguishes an individual window from all windows belonging to an application.
Webex’s current window-sharing documentation, updated June 16, 2026, also explains that this preference persists for future sharing sessions. It notes that the setting is unavailable for full-featured meetings, so check the actual meeting experience rather than expecting identical controls everywhere.
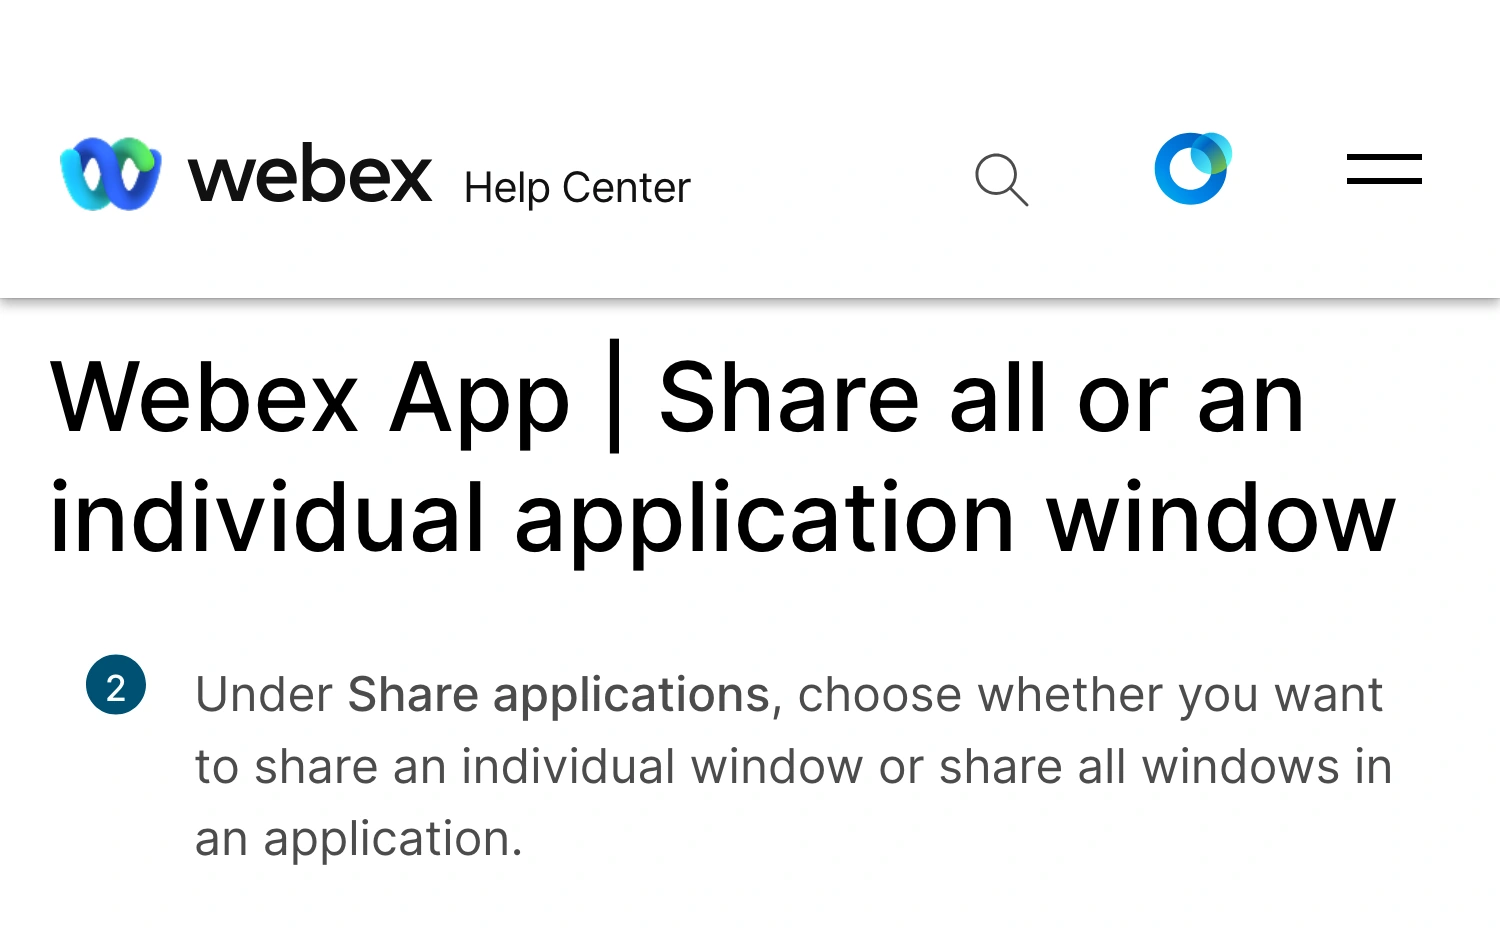
Webex Help Center, captured September 25, 2026. Cropped source header, title, and step 2 retain the official window-scope distinction without the cookie banner or unrelated page content.
For example, if you have two documents open in one editor, an all-windows choice deserves a different review from selecting the single sample document. The app’s name alone is not enough to decide whether its contents are suitable for the audience.
Identify the Mac system picker before following shortcuts
On macOS Sequoia 15 or later, Webex can use the Mac system screen-sharing picker. Webex documents this under Settings → Sharing content → Use Mac system screen sharing picker, followed by Save. When enabled, the system picker replaces Webex’s normal sharing dialog.
This explains why a colleague’s instructions may not match your screen. Apply the Shift-selection steps to the Webex picker described above; do not assume every system-picker screen exposes the same controls.
The official system-picker guide, dated April 11, 2026, lists differences including unavailable portion sharing, annotations, and remote control. It also warns that moving a shared application to another monitor can make it invisible to other participants in that workflow.
Keep the required applications on the display used during rehearsal. If you change picker mode or move a window between monitors, repeat the participant-view check. A successful earlier test does not establish what the changed setup is transmitting.
Choose the boundary that matches the demonstration
| Presentation need | Starting point | Check before the call |
|---|---|---|
| One sample document | Native individual-window sharing | The exact selected window |
| Several apps shown in sequence | Webex multi-app selection | One-at-a-time audience behavior |
| A system-picker workflow | Mac system picker | Available controls and monitor placement |
| A reusable filtered work view | ScreenK9 Audience View | App rules, browser context, and output layout |
Webex already provides useful native choices. ScreenK9 is relevant when the remaining requirement is a prepared audience composition that follows a working session across applications, or a repeatable boundary used with several meeting and recording tools. The general multi-app sharing guide compares that broader workflow.
Prepare one filtered audience window with ScreenK9
Start by listing the applications the audience actually needs. A short list is easier to review than an everyday desktop: for example, the demo browser, the editor, and the sample-document app.
- Choose the source display in ScreenK9 and arrange the relevant work windows on it.
- Configure an Allow only profile with the required ordinary applications.
- If Chrome is involved, configure Chrome Companion and classify the intended work context before relying on it.
- Start the audience output and inspect the complete sequence in ScreenK9 — Audience View.
- In Webex, select that named Audience View window as the shared source.
ScreenK9 creates an ordinary macOS window from its filtered capture. Webex shares that window; there is no special Webex integration or interception of meeting traffic. A recipient-view rehearsal is still necessary, particularly for text size and transitions between apps.
The source display and window arrangement matter. The audience output is not an automatic layout designer that turns arbitrary windows into a polished slide. Enlarge the material people need to read, and check whether a side-by-side arrangement remains legible at the size received by the meeting participant.
Keep native and ScreenK9 privacy scopes separate
Webex’s individual-window selection and ScreenK9’s ordinary app rules are different controls. ScreenK9 applies those ordinary rules to whole applications, so allowing an editor is not a promise to filter a private document window from another window of that same app.
Chrome has a separate Companion-based classification workflow, described in the Chrome profile privacy guide. Prepare the contents of the allowed Work context as well: a customer record or suggestion inside an allowed window is still content you must review.
For a known fixed area, manual audience redaction regions can help, but they do not follow moving text or detect secrets. ScreenK9 does not provide OCR or automatic sensitive-content recognition. It also does not capture, mix, or route meeting audio; verify any Webex audio option separately if the demonstration includes sound.
Most importantly, sharing the physical display directly bypasses Audience View. Check the source name after switching what you share, not just the image visible on your own monitor.
Rehearse the transitions that could change the audience picture
Before the real call, open the first sample document, switch to the browser, open the expected dialog, and return to the document. Include a new window if the live workflow creates one. Confirm the result with a participant view after each transition.
If a required app disappears, becomes unreadable, or exposes an unintended document, stop sharing while correcting the setup. Use the narrowest native boundary that completes the task, and introduce a filtered audience window only when its additional preparation solves a concrete presentation need.
Sources checked
- Webex: share content in meetings and webinars
- Webex App: individual or all application windows
- Webex App: Mac system screen-sharing picker
Documentation and ScreenK9’s current implementation were checked on September 25, 2026.