
Start with VS Code’s built-in controls
You do not need a presentation extension for a straightforward code walkthrough. Open the sample project, choose the file you will explain first, and close unrelated editor tabs before sharing.
Open the Command Palette with Shift–Command–P, then run View: Toggle Zen Mode. Its default Mac shortcut is Command–K, then Z: a sequence, rather than three keys held together. You can also use View → Appearance → Zen Mode. Press Escape twice to leave it.
The current VS Code interface guide describes Zen Mode as an editor-focused layout that hides surrounding interface elements and normally enters full screen. If full screen makes your meeting workflow awkward, review the zenMode.fullScreen setting before rehearsing. The point is to choose a predictable layout, not to discover a new desktop transition while people are watching.
Then open your meeting tool’s share picker and choose the prepared VS Code window. For a walkthrough that stays inside that window, this is the simplest audience boundary. Check the participant view once; your large local display is not evidence that the transmitted code is readable.
Make code, menus, and terminal output readable
Choose the control that matches the problem. VS Code’s accessibility documentation describes window zoom, which changes the interface as well as its contents. The editor and integrated terminal also have their own font settings.
| What the audience cannot read | Adjust before sharing |
|---|---|
| Menus, tabs, and code are all small | Window zoom |
| Code is small but the interface is comfortable | Editor font size |
| Terminal output is smaller than the code | Terminal font size |
| Too many panels compete with the example | Zen Mode or individual panel visibility |
Use the Command Palette to find View: Zoom In instead of relying on a shortcut copied from a different keyboard layout. For a precise editor setting, search Settings for editor.fontSize. For terminal text, use terminal.integrated.fontSize, documented in the terminal appearance guide.
Increase the size until a short function is readable in a normal-sized meeting window. Avoid solving the problem by expanding the editor across a huge monitor: the remote picture may simply be scaled down again. Prefer a short, focused example over a wall of tiny code.
Rehearse one long line and one error message. Wrapping can help source code fit, but output, paths, or stack traces may still require horizontal movement. Decide in advance which part of that output the audience needs to see.
Save a demo profile you can reuse
For repeated presentations, create a separate VS Code profile. Open Code → Settings → Profiles on Mac, or use the Manage gear to open the Profiles editor. Create a profile named for the demo, select the settings and extensions it should include, and preview it before using it.
VS Code explicitly recommends profiles for demos involving different font sizes, zoom levels, themes, or extensions. Its profile documentation also explains that profiles can be associated with folders and workspaces. Check the active profile when you change projects during a rehearsal.
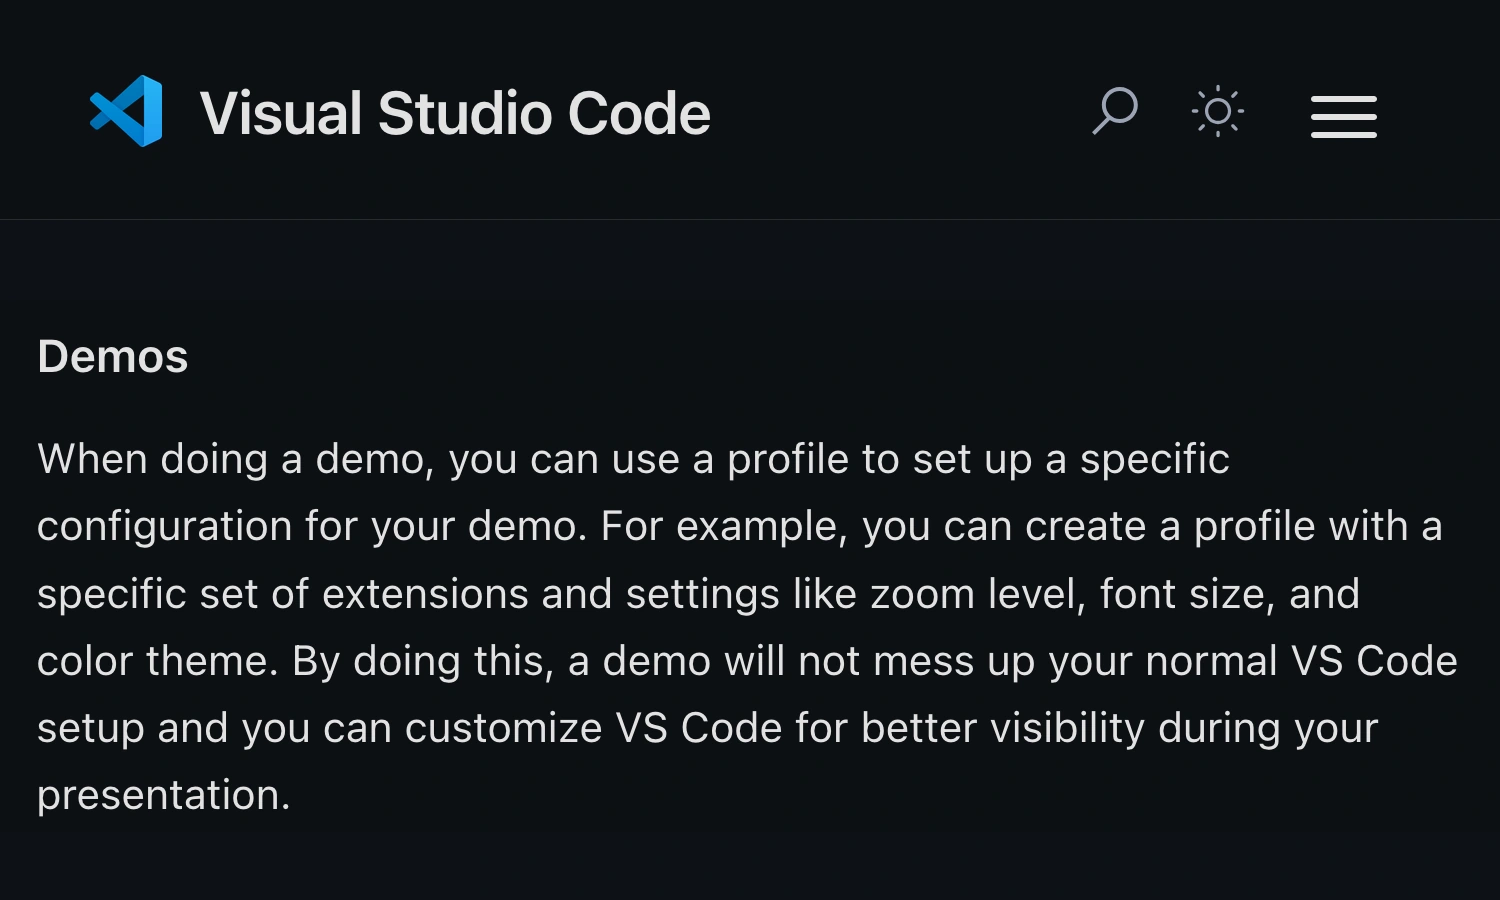
Visual Studio Code documentation, captured September 18, 2026 at Retina resolution. The site identity and Demos paragraph are separate unaltered excerpts; navigation and intervening content are omitted.
A profile is a collection of editor customizations. Treat it as a repeatable presentation setup, not as a separate copy of your project or a secret-removal tool. A real credential in a file remains real when opened under a different profile.
Prepare the content that layout controls cannot hide
A tidy editor can still display private information. Before the call, use a sample project with fictional values and deliberately inspect the places you will visit:
- File names, folder names, and open tabs.
- Terminal output and earlier commands you might scroll back to.
- Debug panels, variable values, and error messages.
- Search results and files opened through Quick Open.
- Extension panels or chat conversations you plan to show.
Closing the terminal panel only hides its current view. It is not the same as preparing a safe terminal session, and a shortcut can reopen it. VS Code’s advanced terminal guide documents persistent sessions, so do not assume reopening the editor produces an empty terminal.
Run the demo’s commands against sample data before the meeting. If a command can print credentials or customer records, change the demo environment or the command output first. A blank opening frame does not prove the next step is safe.
If you are making a recording rather than a live presentation, the single-window recording guide explains how to keep the recorder’s target narrow.
When the demo moves from code to other apps
Some demos need the editor, a work browser, and a separate terminal. If those applications must remain visible while personal applications stay open, ScreenK9 provides a separate filtered audience window.
Prepare a ScreenK9 profile that allows the work applications needed for the demo. Choose the source display, start capture, and inspect ScreenK9 — Audience View. In the meeting tool, share that named window. Then rehearse the actual editor → browser → terminal sequence while checking the audience picture.
This keeps the meeting pointed at one prepared output while you work in the original applications. The multi-app sharing guide covers the general workflow; the preparation above addresses the particular contents of a developer demo.
There are important boundaries. Ordinary app rules apply to the whole application, not to arbitrary individual VS Code or terminal windows. Do not assume that approving your demo editor excludes another private window from the same app. Chrome profile rules are a separate supported workflow, described in keeping personal Chrome profiles private.
ScreenK9 does not perform OCR or automatically discover secrets. Manually configured redaction regions cover fixed areas; they do not follow a credential when you scroll. Sharing the physical display instead of Audience View bypasses ScreenK9’s filtered picture.
Rehearse the transitions, then start
Use a short final check: open the first file, run a representative command, switch to the work browser, and return to the editor. Verify the audience output at every transition. Stop the share before opening an unprepared project or debugging a problem that could expose real data.
For a code-only explanation, keep the share on the editor window. For a prepared multi-app demonstration, verify Audience View before inviting anyone to watch. In either case, readable code and safe sample data do more for the audience than adding another presentation extension.
Sources checked
- VS Code: interface and Zen Mode
- VS Code: accessibility and zoom
- VS Code: profiles for demos
- VS Code: terminal appearance
- VS Code: persistent terminal sessions
Platform documentation and ScreenK9’s current implementation were checked on September 18, 2026.