
Turn on the native controls first
Open Discord’s User Settings, find Streamer Mode, and enable it. Review its individual privacy options instead of assuming the main toggle conceals everything. If the settings layout differs from an older tutorial, use settings search when available to find the feature by name.
Discord’s Streamer Mode documentation describes four controls: hiding certain personal information, hiding instant invite links, disabling Discord sounds, and disabling Discord desktop notifications. It also documents automatic activation with supported streaming software. Check the actual setting before a session rather than relying on detection.
One explicit exception matters: a configured display name can remain visible, even when the username is hidden. Treat a public-facing name as public-facing content during your test.
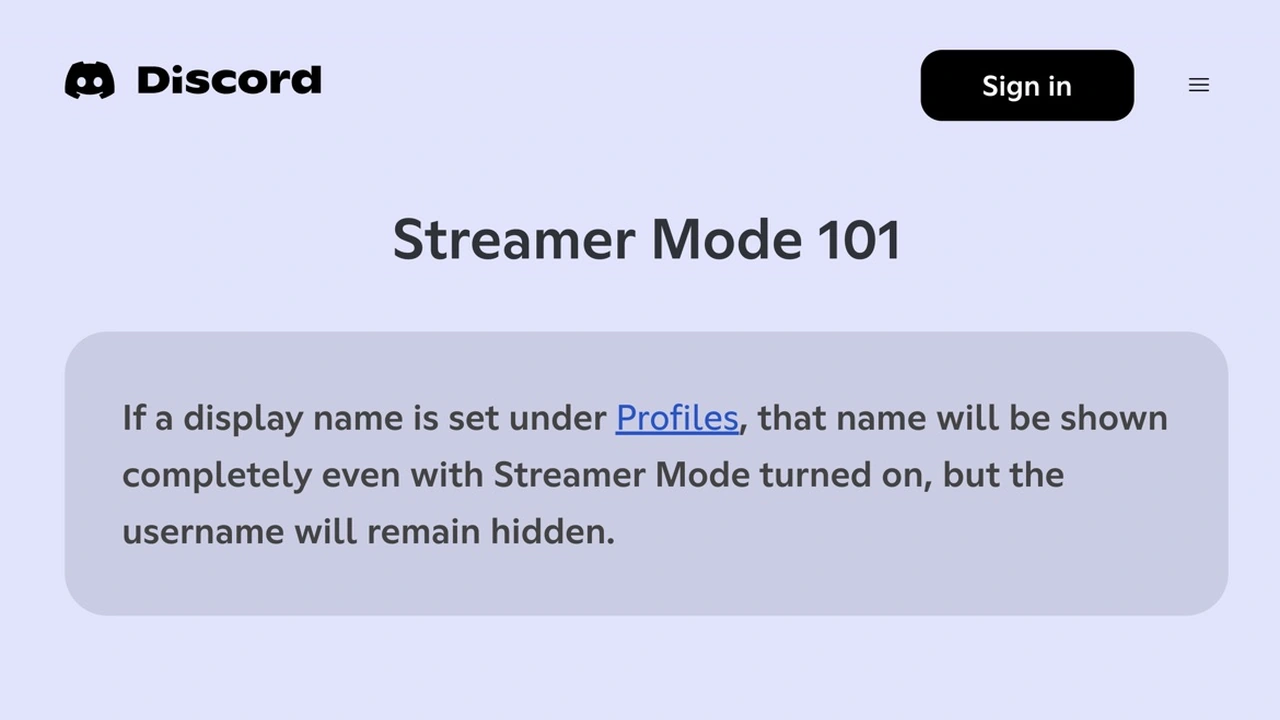
Cropped excerpts from Discord Support, captured September 12, 2026: source header, article title, and the display-name warning. The original text is unchanged; intervening page content is omitted.
Separate Discord settings from your capture source
Streamer Mode changes selected information inside Discord. Your screen-sharing or recording app separately decides which pixels enter the audience feed. Turning on one control does not select the other.
Think through this ordinary example: you enable Streamer Mode, then share your whole display to explain an editor project. While looking for a file, you open a personal browser window. Discord’s identity settings have no role in deciding whether that browser appears in the display capture.
| What you need to protect | Starting point |
|---|---|
| Selected Discord identity details | Streamer Mode settings |
| A private app beside your work | Share only the work window |
| Several approved apps during a Mac walkthrough | A tested filtered Audience View |
| A secret inside an approved document | Remove it or use demo data |
| Microphone or system sound | Recording or calling app’s audio controls |
Before you start, write down the information a viewer actually needs. An account-settings tutorial and a code walkthrough require different surfaces. Keeping Discord open for voice chat does not mean its text conversations need to be part of the picture.
If you do intend to show Discord, inspect the exact channel, message history, attachments, and names visible in that view. Do not interpret a masked username as proof that the surrounding conversation is suitable for the audience.
Share one window on Mac when it is enough
Discord’s Mac screen-sharing instructions describe a window, an app, and an entire screen as distinct choices. In an eligible voice call, open the sharing controls, choose the appropriate source type, and complete the macOS selection step. The interface can vary with the operating system.
For a single drawing, spreadsheet, or editor window, choose that specific window and verify the received picture. Open the dialog you expect to use during the session. A file chooser, a new document, and a separate app are not interchangeable capture sources.
If you are broadcasting through OBS instead, make the source decision in OBS. Discord’s own guide to streaming applications likewise recommends narrowing a full-screen share to an application when unrelated content should remain outside it.
Increase the work content’s text size before the real stream. Tiny text often tempts presenters to switch to a different capture mode mid-session. A rehearsal at the viewer’s likely size lets you solve readability without unexpectedly expanding the shared area.
When ScreenK9 adds a useful Mac boundary
Use ScreenK9 for a walkthrough that needs to move among approved work applications while personal apps remain open. A practical example is showing a Work Chrome dashboard, a code editor, and a terminal during a community support session.
ScreenK9 creates a separate ordinary macOS window from filtered display capture. Your calling or recording tool must select ScreenK9 — Audience View as its source. ScreenK9 does not modify Discord, intercept its traffic, or replace its Streamer Mode settings.
Set up the boundary before sharing:
- Put the required work apps on the selected capture display and prepare non-sensitive contents.
- Create an Allow only profile and approve those applications. Leave private messaging and personal apps outside the list.
- For Chrome, classify the intended profiles as Work using the companion extension. The Chrome profile guide explains this additional step.
- Start capture and inspect Audience View through the complete app-switching sequence.
- Select that audience window in Discord or your recorder, then confirm it from a test viewer or saved test recording.
For an OBS scene with several independently placed sources, use the OBS multi-window guide. Audience View is one source; it does not turn ScreenK9 into a scene editor or a streaming service.
Know the limits before approving an application
ScreenK9’s ordinary-app rules apply to the application, not individual windows within it. Approving an editor can include another document in that editor. ScreenK9 cannot approve one ordinary Discord window while independently filtering another ordinary Discord window.
Chrome has a distinct local profile-classification path. Personal, unclassified, stale, and ambiguous matches are hidden. Title matching is not cryptographic identity; do not treat it as a guarantee that arbitrary page titles establish a trusted account.
Manual redaction regions cover user-chosen areas of the audience output. They provide no OCR or automatic secret detection and do not follow moving text. For a fixed field, the guide to covering part of a share explains when a manual region is useful. Prepare demo data whenever possible.
Sharing the physical display directly bypasses ScreenK9. The product also does not capture or route audio. A personal app excluded from the picture can still produce sound captured by your microphone or recording setup.
Verify the picture and sound before going live
Apple’s screen and system-audio recording controls govern capture permissions for each app. Grant the required permissions to the actual recorder or calling app, and to ScreenK9 if used. Follow any macOS restart prompt and repeat the test afterward.
Use a short rehearsal with harmless content:
- Confirm the source name after starting the share.
- Visit every work app and open the menus you plan to use.
- Check the Discord surfaces that might appear, including display names.
- Bring a private app forward and inspect the receiver’s picture.
- Listen for notification sounds and microphone pickup.
- Stop and restart sharing to check that you select the same intended source.
ScreenK9’s current download page lists Mac availability and requirements. Use Streamer Mode for its documented Discord controls, and choose your capture source deliberately before a viewer joins.
Sources checked
- Discord Support: Streamer Mode 101
- Discord Support: How to Screen Share on MacOS
- Apple Support: Screen and system audio recording
Sources and ScreenK9’s implementation were checked on September 12, 2026. Discord’s Streamer Mode article carries an older update date; its screenshots should not be treated as a promise of the current sidebar layout. The independent video is an introductory walkthrough, not evidence of a ScreenK9 integration.