
Start with a selected area for a static clip
If you are recording an animation, a dashboard that updates by itself, or a slide that needs no mouse interaction, the simplest built-in approach is to keep the pointer outside the picture.
Press Shift–Command–5, choose the selected-portion recording mode, and draw the area around the content. Move the pointer beyond that boundary before the useful part of the take. A short timer gives you time to position it. Stop with Control–Command–Escape, then review the saved clip.
That is positioning, not cursor removal. If you move the pointer back into the recorded area, it can appear again. A cropped area also stays tied to screen coordinates: dragging another window across it changes the recorded content. For a window that should remain the capture target when other windows move, see recording a single window on Mac.
Apple’s recording instructions, updated September 14, 2026, distinguish selected-area capture from the option that draws a circle around clicks. Turning those circles off is useful, but it does not mean the pointer has been removed. The current recording instructions do not document a switch that hides the pointer itself.
Use a recorder’s cursor control for an interactive take
If you need to click, drag, or scroll throughout the clip, moving the pointer aside is impractical. Use a capture source that can omit it while you continue working normally.
In OBS on a supported Mac:
- Add or select a macOS Screen Capture source.
- Open that source’s properties.
- Select the display, application, or window needed for the recording.
- Turn Show cursor off and confirm the change.
- Record a short sample containing an obvious pointer movement and a click, then play the saved file.
The official OBS source reference documents this control. Older instructions for legacy Mac capture sources can describe different behavior, so match the source name before following a tutorial.
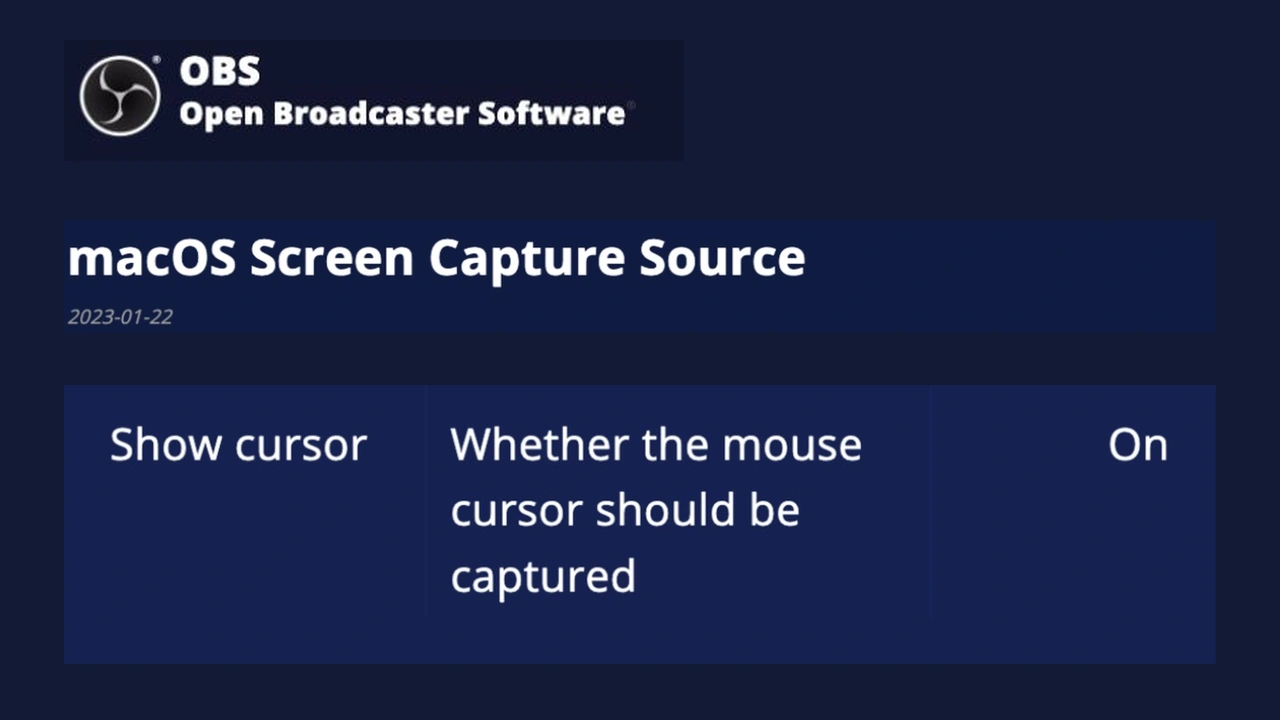
OBS Knowledge Base, captured September 16–17, 2026. The source heading and relevant property row are shown as separate excerpts with intervening content omitted. “On” is the documented default.
Check each capture source you actually use. A clean starting scene does not establish what a second source or later scene records. If your workflow needs a deliberate arrangement of several windows, the OBS multi-window recording guide covers that separate setup.
Decide which visible mark you want to remove
Several things can look like a cursor in a finished video. They need different controls.
| What appears in the picture | Where to check |
|---|---|
| The moving system pointer | The recorder’s capture-source settings |
| A circle each time you click | Mouse-click visualization settings |
| A caret blinking inside a text field | The application or field being recorded |
| A collaborator’s pointer inside a web app | That web app’s collaboration controls |
| An arrow already present in a video being played | The original media or editing project |
Removing the system pointer does not remove application content. A text caret, a drawing tool, or an in-page collaborator marker may still be rendered by the application. Check the actual unwanted mark before changing more settings.
Also consider whether hiding it helps the viewer. For a clean animation loop, an arrow can be distracting. For a tutorial that explains where to click, removing every pointing cue may make the lesson harder to follow. Record a few seconds and watch them at the size your audience will use.
Keep private apps out of a recording that crosses applications
A cursor setting solves the pointer problem. A walkthrough that moves through several work apps can also need a consistent boundary around what else reaches the recording.
ScreenK9 creates a separate filtered macOS window. For this scenario:
- Prepare a privacy profile that allows only the work apps required for the take.
- Set Pointer to Hidden in ScreenK9’s capture controls.
- Start the capture and inspect ScreenK9 — Audience View.
- In your recorder, select that named window as the source.
- Run the real app-switching sequence and review a short saved sample.
The pointer control changes ScreenK9’s captured output; it does not make your original Mac pointer disappear. The current implementation passes the profile’s choice to Apple’s cursor-inclusion setting.
Ordinary application rules apply to the application, not to individual windows within it. Approving an app still requires preparing its contents. Chrome classification can keep personal, unclassified, stale, or ambiguously matched profile windows out, but it does not inspect the page for secrets. See the local privacy model for the capture and data boundaries.
Check both layers when recording Audience View
There are now two capture decisions: ScreenK9 builds its audience picture, and another application records that window. A downstream recorder may draw its own pointer when the mouse is over the captured Audience View window. ScreenK9’s setting cannot configure the other recorder.
Keep Audience View available for verification, then work in the original application windows. If you use OBS to record it, also check that OBS source’s pointer setting. Test moving the mouse over the source window itself once, so an unexpected overlay is found before the real take.
Selecting the physical display instead of Audience View bypasses the filtered output. Sound is another independent decision: ScreenK9’s capture stream does not record system audio, so set up and review the recorder’s audio separately.
An existing video needs a different approach
Changing a capture setting only affects a new take. It cannot remove a pointer already stored in an ordinary flattened video frame.
Some editors retain separate cursor information for their own recordings. For example, Screen Studio’s cursor guide documents a Hide cursor setting for its recordings. It is not a promise that any imported MOV or MP4 has an editable cursor layer.
For a short clip you can reproduce, another clean take is often the clearest fix. Before the final recording, verify three moments: the opening frame, an active interaction, and the transition to the next application. The saved sample should show the intended content at all three points.
Sources checked
- Apple Support: recording the Mac screen
- OBS: macOS capture source properties
- Apple Developer: cursor inclusion in a capture stream
- Screen Studio: cursor controls for its recordings
Platform documentation, the linked video, and ScreenK9’s current implementation were checked on September 17, 2026.