
Hide the toolbar that covers your work
Start your screen share, then open More on the floating toolbar and select Hide floating meeting controls. This is the native action documented in Zoom’s screen-sharing guide. It clears the controls from the local area where you are trying to present.
For a quicker toggle, use Control + Option + Command + H. Zoom’s current keyboard-shortcut reference lists that combination for showing or hiding floating meeting controls on macOS. Command + Shift + H is the chat-panel shortcut, so it is not a substitute.
If the shortcut differs on your Mac, inspect Settings → Keyboard shortcuts in the Zoom desktop app. Shortcuts can be edited, and some can be enabled globally. Use the named menu action while checking the configured binding rather than trying several unfamiliar combinations during a presentation.
Practice bringing the controls back before the meeting matters. You still need access to mute, stop sharing, and other meeting actions. A hidden toolbar is useful only if you can recover those controls without a distracting search or an unintended click in the shared application.
Separate your view from the participant’s view
A toolbar covering the top of your document is a local usability problem. It does not, by itself, prove that the audience sees the toolbar. Zoom’s guide to showing Zoom windows says its window and meeting controls are excluded from screen sharing by default.
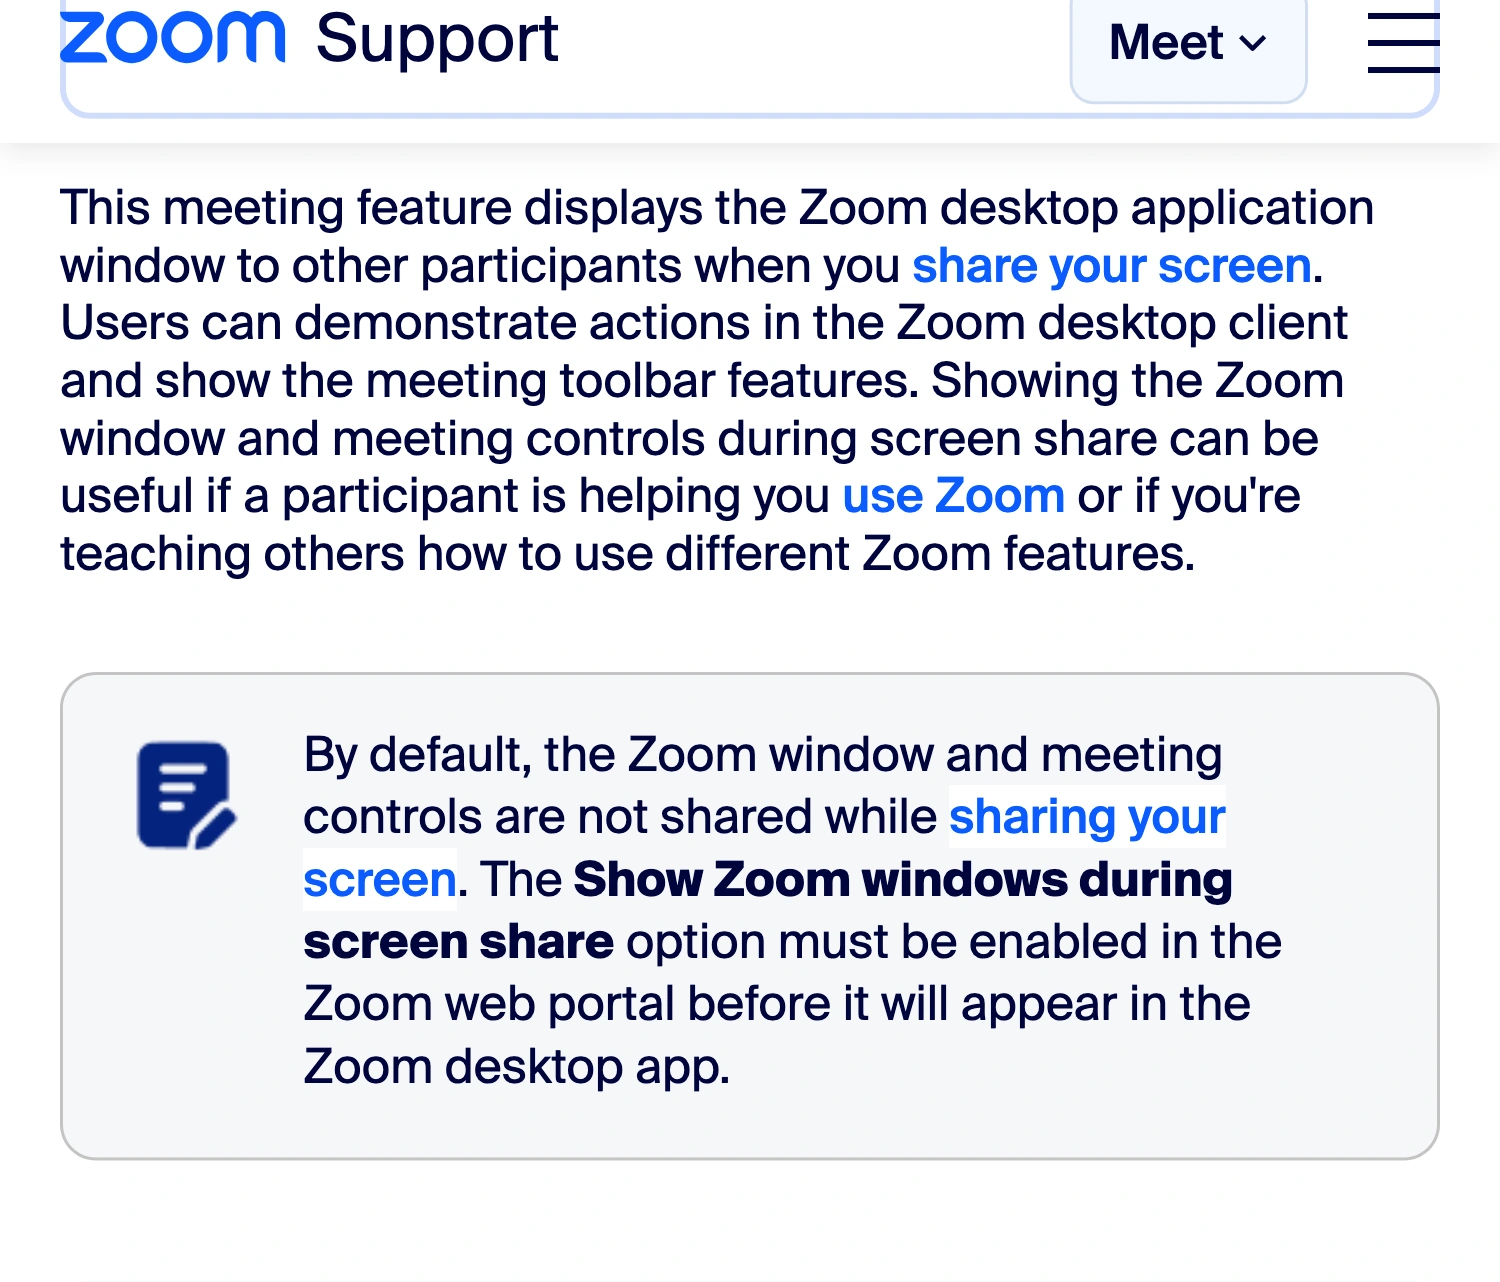
Zoom Support, captured October 2, 2026 at 3× resolution. The default audience behavior is separate from whether the presenter can see the toolbar.
This distinction saves unnecessary troubleshooting. If your only problem is that the controls cover a button you need to click, hide or reposition them locally. If a participant reports seeing Zoom controls, inspect the outgoing source and Zoom-window sharing settings.
Ask the participant to describe the exact element: the floating sharing bar, the meeting window, a chat panel, or something drawn by the application being demonstrated. “The toolbar” can mean several different objects. Changing the wrong setting can leave the reported problem untouched.
For a rehearsal, use a second participant view with safe sample content. Your own desktop is not the same thing as the transmitted picture. If you also make a recording, inspect a short saved clip as a separate output.
Check whether Zoom windows were enabled for sharing
Zoom supports deliberately including its interface, which is useful when teaching someone how to use Zoom. In the desktop app, the documented setting is Share Screen → Show my Zoom Workplace Application and meeting windows. There is also an option to include the sharing toolbar, annotation toolbar, and meeting notifications.
If you enabled these for a Zoom tutorial, review them before a different presentation. Leave Zoom-interface inclusion off when the interface is unnecessary. Do not change an organization-wide setting just to tidy your own view.
The availability of these controls can depend on Showing Zoom windows during screen share in the web portal. Zoom documents account and group locks; a grayed-out managed setting may require the account administrator. The support site also notes that navigation can differ during its web-experience updates, so use the setting’s name as your reference.
After changing the source or inclusion setting, inspect the result again. A source preview or a receiving view is more useful than assuming the checkbox fixed every output in the workflow.
A separate screen recorder needs its own source choice
| Problem | First action | Verification |
|---|---|---|
| Controls cover your document locally | Hide the floating meeting controls | You can work and restore controls |
| Participants see Zoom’s interface | Review Zoom-window inclusion | Receiving participant view |
| An independent recorder captures the toolbar | Choose a narrower capture source | A saved test clip |
| Several work apps must appear in one feed | Prepare approved apps in Audience View | Every transition in the output |
Zoom’s screen-sharing default describes Zoom’s own outgoing share. It is not a promise about a separate application recording the physical display. Check that recorder’s source independently, especially if a clean meeting share and a local tutorial recording run at the same time.
For one stable application, capture its window directly. In OBS, the multi-window recording guide explains the difference between window, application, and display sources. A carefully chosen window is often enough to keep unrelated meeting controls outside a recording.
Write down which output is being checked: the call, the recorder preview, or the saved file. If only the recording contains an unwanted element, changing a meeting-view preference may not address the capture source responsible for it.
Use ScreenK9 when the audience feed spans several apps
ScreenK9 is useful when you need a continuous demonstration across approved work apps while keeping Zoom and other private apps available locally. It builds a separate filtered window from the selected display; it does not remove Zoom’s controls from your own desktop.
Choose Show only selected and approve the applications needed for the demonstration. Leave Zoom out of that selection. Inspect ScreenK9 — Audience View, then share or record that named window. The guide to sharing multiple apps covers this workflow.
You can also use Hide selected to exclude chosen applications, but review everything else that remains in the picture. Ordinary app rules apply to all windows of an app. Excluding Zoom is not a way to keep one Zoom window while filtering only its toolbar.
Sharing the physical display directly bypasses the filtered window. Check the exact source name after switching meeting tools or recorder scenes. The benefit depends on sending the prepared audience picture, not merely leaving ScreenK9 running in the background.
ScreenK9 does not intercept meeting traffic, change Zoom’s sharing preferences, or keep its local toolbar permanently hidden. It has no OCR or automatic secret detection. Use Zoom’s native hide command for local obstruction and the filtered-window workflow only when controlling the broader audience feed is the actual need.
Test the moment you need the controls again
A useful rehearsal includes one deliberate interruption. Hide the toolbar, navigate through the demonstration, restore the controls, and stop the share. Confirm that you can do this without exposing a private application or losing your place.
If you need to pause the outgoing presentation while preparing another view, follow the separate Zoom pause-sharing guide. Hiding the toolbar is not the pause command and does not stop transmission.
Before the live session, confirm three things: the controls no longer obstruct your work, the participant receives the intended source, and any separate recording contains the same intended material. When all three are correct, further toolbar changes are unnecessary.