
Choose the Zoom source before arranging your desktops
For a presentation that stays in one window, share that window. If you need several applications, Zoom’s current desktop client also supports selecting more than one: open Share → Screens and hold Shift on Mac while selecting the required applications.
This is documented in Zoom’s screen-sharing guide. Check the preview and start with the smallest selection that covers your demonstration. An administrator may restrict available sharing options.
That choice matters more than the number of Spaces on your Mac. Putting a private window on another desktop helps you stay organized, but it does not define the capture source chosen in Zoom.
If Zoom cannot access any screen content, resolve the capture permission first using its current macOS permissions guide. A permission problem and a workspace-selection problem require different fixes.
A Space, a display, and a shared window are different
A Space is a macOS workspace containing windows. A display is the screen area associated with a monitor. An application window is a more specific item you can choose in a share picker.
Apple’s Spaces documentation describes additional desktops as a way to organize windows. Zoom lists entire screens and application windows as share sources; it does not document a picker that pins a share to an arbitrary inactive Mission Control Space.
The practical conclusion is to avoid interpreting a label such as “Desktop 1” as a promise that Zoom will always show your first Mission Control workspace. Read the preview and verify the actual output.
| Your goal | Start with |
|---|---|
| Show one document while keeping other work separate | The document’s application window |
| Present a known set of applications | Zoom’s native multiple-application selection |
| Share one of two physical monitors | A selected display and a participant-view check |
| Keep an inactive Space continuously visible | Do not assume ordinary display sharing provides this |
If you actually have two monitors, follow the one-monitor Zoom guide. Adding a Space to one laptop screen is a different arrangement from extending your desktop across two physical displays.
Use Spaces to make your own workflow predictable
Before the call, enter Mission Control with Control–Up Arrow and add a desktop with the + button. Move the presentation windows there, leaving unrelated work elsewhere. Use Control–Left Arrow and Control–Right Arrow to rehearse switching.
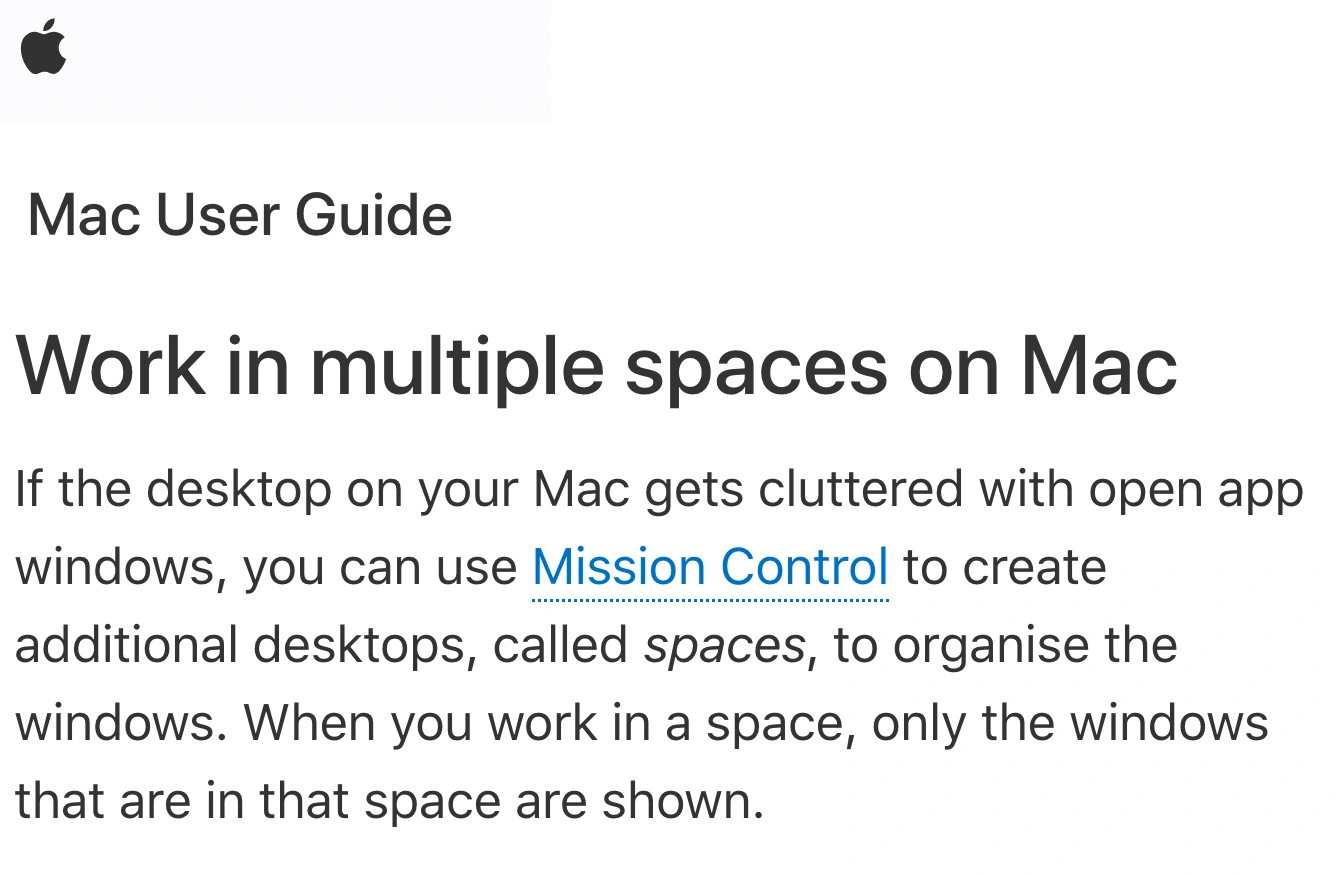
Apple’s Mac User Guide, captured September 21, 2026 with the macOS Tahoe 26 guide selected. Cropped source header and documentation excerpt show how Spaces organize windows; the meeting’s capture source must be selected separately.
Check application assignments through the app’s Dock icon: Control-click it, open Options, and review Assign To. An app assigned to All Desktops can appear in each workspace.
Apple also documents that switching applications can take you to a Space containing that app’s windows. Review System Settings → Desktop & Dock → Mission Control → When switching to an application, switch to a Space with open windows for the application if unexpected jumps disrupt the demo.
Make these decisions before sharing. A last-minute rearrangement is hard to judge while answering questions. Keep the presentation sequence short enough that you can remember which window comes next.
Test transitions with sample content
The opening frame is only one moment in a presentation. Your rehearsal should exercise the actions that can change the picture.
Use harmless sample windows and a participant view on another device or a trusted test session. Then run this sequence:
- Start sharing the intended application selection.
- Switch to another Space using the shortcut you normally use.
- Return through the Dock or app switcher.
- Open a second document in an approved application.
- Enter and leave full screen if the real demo requires it.
- Stop sharing before changing the capture source.
Observe what the participant receives at each step: the intended window, another visible desktop, a transition, or a frozen or blank picture. Record the result for your Mac and Zoom version. Do not assume one capture mode behaves exactly like another.
This rehearsal also catches presentation failures that are not privacy leaks. A perfectly private but blank picture is still an unsuccessful demonstration. If the content disappears when you change Spaces, keep it in the active workspace or use a simpler native window-sharing arrangement.
For slide notes, choose a presentation setup that explicitly separates the audience slideshow from the presenter view. The speaker-notes guide addresses that task; extra Spaces alone are not evidence that notes remain hidden.
When you need a reusable filtered audience window
Zoom’s native window selection is a good fit for a stable group of applications. ScreenK9 becomes useful when you want to prepare a reusable app allowlist and share one filtered output while keeping unrelated applications open.
Choose the source display in ScreenK9, allow the work applications needed for the demonstration, and inspect ScreenK9 — Audience View. Share that named window in Zoom. Continue working in the original applications and check the audience picture during the same transitions you rehearsed above.
The multi-app sharing guide describes this workflow. ScreenK9’s rules control which applications are included in its output; they are not rules for pinning individual Mac Spaces.
There are specific limits:
- ScreenK9 does not create a virtual display or promise continuous capture of an inactive Space.
- Ordinary app rules apply to the whole application. Approving one work app does not identify arbitrary private windows in that same app.
- Chrome profile classification is a separate supported workflow; it does not turn Spaces into isolated capture sources.
- Text inside an approved window remains your responsibility. There is no OCR or automatic secret detection.
- Sharing the physical display directly bypasses the filtered Audience View.
For a demonstration requiring an inactive workspace to remain visible without interruption, do not choose ScreenK9 on the assumption that it provides that capability. Keep the required content active or use a presentation arrangement whose behavior you have verified.
Start with a capture choice you can explain
Before the call, name the exact source you intend to share: one application, a selected set, one physical display, or Audience View. Then identify the one transition most likely to change the picture and test it.
If your explanation depends only on “the private window is in another Space,” the setup needs another check. Use Spaces to organize your work and the share picker to choose what the audience receives.
Sources checked
- Apple: work in multiple Spaces
- Zoom: screens and application sharing
- Zoom: macOS permissions
- MacMost: Mission Control walkthrough
Documentation and ScreenK9’s current implementation were checked on September 21, 2026.