
Give the two displays different jobs first
The simplest setup is a presentation display containing material you intend to show, with meeting controls and private reference material on the other display. Before opening Zoom’s share picker, make sure the screens are extended rather than mirrored.
Open Apple menu → System Settings → Displays. Select the display, open Use as, and choose the extended-display option. Apple’s current multiple-display guide distinguishes an extended desktop from mirroring, which repeats the desktop across displays.
Move a harmless sample window to the intended presentation monitor. The other monitor should show different content. If both show the same window in the same place, resolve mirroring before placing private material on either screen.
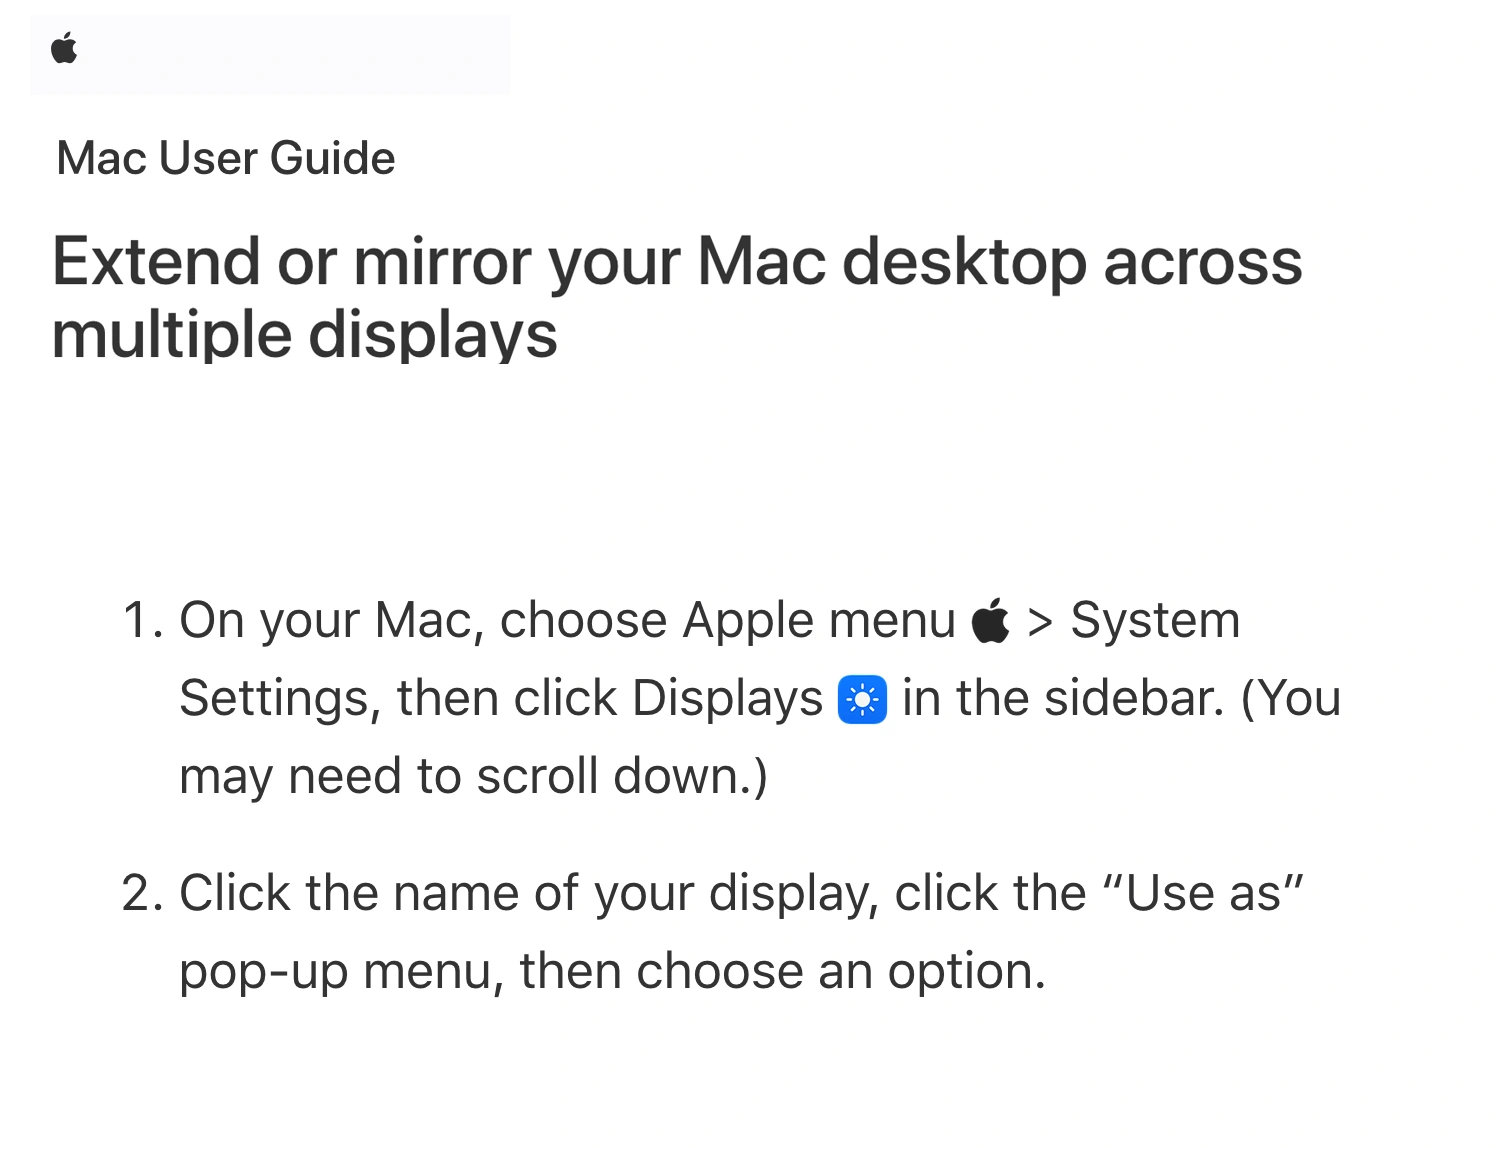
Apple Mac User Guide, captured September 18, 2026 at Retina resolution. Site identity, article title, and the relevant setup steps are separate unaltered excerpts; intervening illustrations and unrelated navigation are omitted.
This guide concerns a Zoom meeting presentation. Apple’s separate Screen Sharing app for remotely controlling another Mac is a different workflow. A search result about selecting a remote Mac’s display may use similar language without describing what your meeting participants see.
Select one monitor in Zoom’s share picker
Arrange the presentation material before starting the share. If your entire explanation fits in one application window, selecting that window is an even narrower native option. Choose a whole monitor when the audience needs the working area and the transitions between its windows.
In the Zoom desktop app:
- Join or start the meeting and click Share.
- On the Screens tab, inspect the available screen and application thumbnails.
- Select the single display containing your prepared sample window.
- Review the sharing options, then click Share.
- Check the outgoing picture before opening your actual presentation material.
Zoom’s screen-sharing reference documents separate screen and application choices. Use what the thumbnail shows instead of assuming that “screen 1” always means the laptop. Display names and arrangements can differ between desks or after reconnecting a dock.
If available, expand Zoom’s outgoing-share preview from the sharing toolbar. For a stronger rehearsal, check from a second participant device with its microphone and speaker muted. Move the harmless sample window on each display in turn. Only the display you chose should affect the shared picture.
Keep the meeting connected while checking, but stop sharing before rearranging anything sensitive. Moving the wrong window first and checking afterwards defeats the purpose of the test.
Dual window mode changes your view of the meeting
The similar names cause confusion. Zoom’s dual-monitor documentation describes separating meeting video and shared content across displays. It is useful when you want to watch participants while presenting.
The current setting is under Settings → Meetings & webinars → In-meeting and in-webinar experience → Meeting window view → Dual window mode. Zoom also documents Command–Shift–D on Mac. Older tutorials may show a different settings location.
| Decision | Control to use |
|---|---|
| Give each monitor different desktop content | macOS Displays: extended desktop |
| Choose the display participants receive | Zoom’s Share picker |
| Put meeting video and content on separate screens locally | Zoom’s Dual window mode |
| Keep particular apps out of a multi-app audience picture | A prepared filtered output, shared as a window |
Enabling Dual window mode is not a substitute for inspecting the selected share source. Likewise, choosing a monitor does not arrange your notes or decide where another application will open its next window.
If your real task is keeping slide notes off the presentation, follow the speaker-notes guide. Notes require checking the presentation application’s output as well as the monitor selection.
A second monitor is an organizational boundary
An extended desktop gives you room to separate work. It does not label a screen permanently public or private. A personal window moved onto the directly shared monitor can enter the audience picture. The same is true of a private document opened inside an application already on that monitor.
Treat these as rehearsal cases rather than assumptions about every app:
- Open the file or dialog you will need midway through the explanation.
- Switch between the actual applications in the planned order.
- Check what happens when you maximize the presentation window.
- Review notification behavior before the call.
- Repeat the source check after changing displays or docks.
Use the Mac notification-sharing guide for that separate preparation. Monitor selection alone does not establish which banners or application popups might appear during your particular meeting.
If you need to find an unprepared file during the call, stop the share first. Zoom can also freeze its last shared frame; the pause-sharing guide explains the consequences and the required resume check.
Filter work apps on the selected display with ScreenK9
ScreenK9 is useful when the presentation spans several work apps and you want personal apps to remain open without depending entirely on which monitor they occupy.
In ScreenK9, prepare a profile that allows the work apps for the presentation. Under the capture controls, choose the intended Display. Start capture and inspect ScreenK9 — Audience View while switching through the prepared work windows on that display.
Then open Zoom’s share picker and select the ScreenK9 — Audience View window. That changes the audience source from a directly shared physical monitor to ScreenK9’s filtered picture. Keep working in your original applications and verify the output before the real walkthrough.
The selected display still matters. ScreenK9 does not combine both monitors into a virtual presentation desktop, and moving an approved window to another display is not a promise that it remains in the picture. Its output follows the selected source display’s aspect ratio; it is not an automatic ultrawide-to-widescreen crop.
Ordinary application rules apply at app level, not to arbitrary individual windows within the same app. Prepare the contents of approved applications yourself. Manual redaction regions cover fixed areas; ScreenK9 does not use OCR or automatically find secrets. See the privacy model for the local capture boundary.
Sharing the physical monitor directly bypasses Audience View. Audio also needs its own decision in the meeting app: ScreenK9’s capture stream does not capture system audio.
Verify the source whenever the setup changes
Before each meeting, move a harmless window, identify its monitor in the picker, and check what a participant receives. Repeat that check after reconnecting a display, changing the desktop arrangement, or switching capture methods.
For a prepared single-window task, share that window. For a whole-monitor task, keep the chosen display ready for the audience. For a filtered multi-app presentation, select Audience View and test the actual transitions. The reliable check is the outgoing picture, not the position of your notes on your own desk.
Sources checked
Platform documentation and ScreenK9’s current implementation were checked on September 18, 2026.